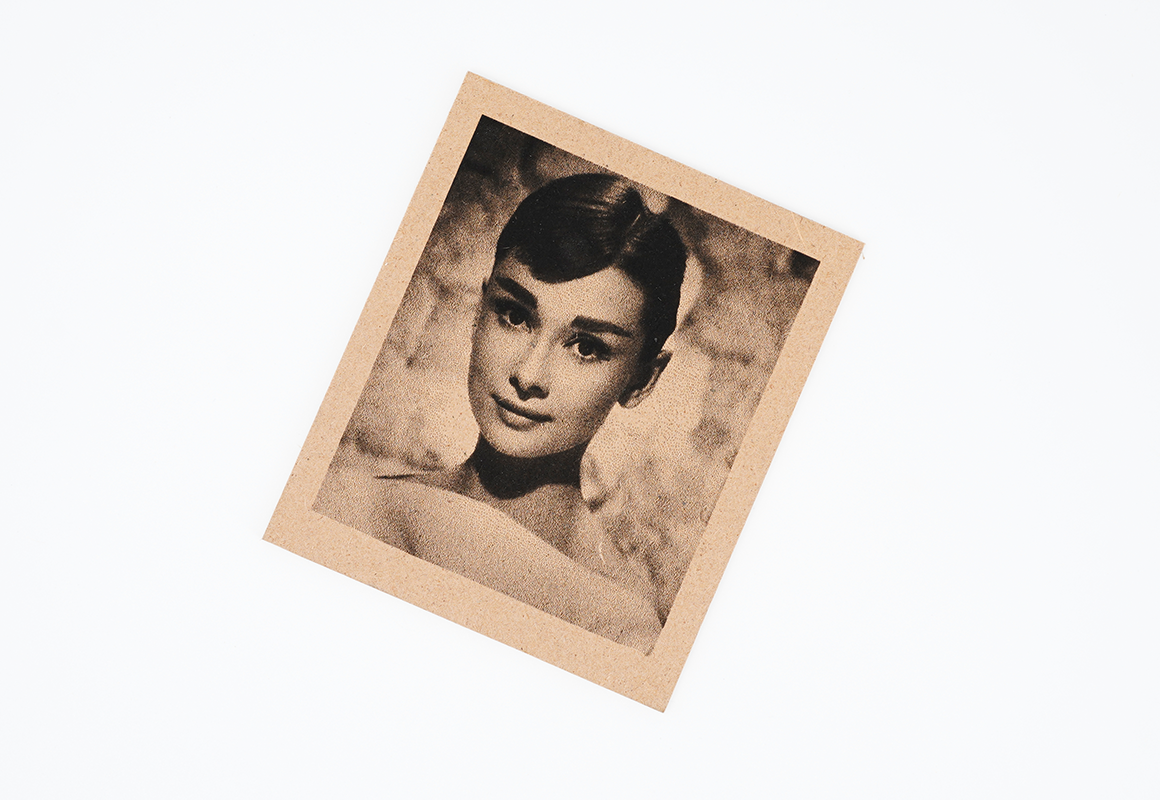
Laser engraving is a auxiliary function in Carvera Air. We chose a 5W laser for mainly engraving the material, not for cutting. This case shows how to use the laser function to engrave pictures as black and white photos.
¶ Tutorial Video
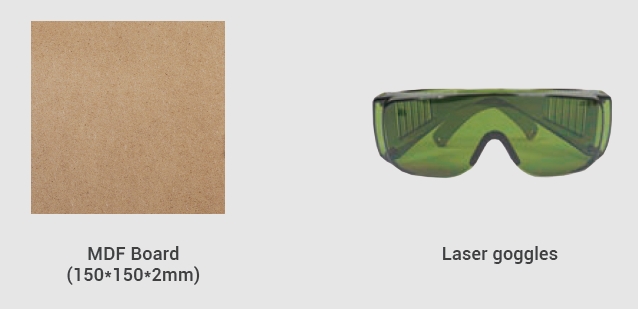
¶ Material preparation

Note: Refer to the relevant sections in the instruction manual for guidance on how to install the laser module.
Note: Before engraving, ensure you are wearing proper eye protection and in a well ventilated space.
¶ Machining process
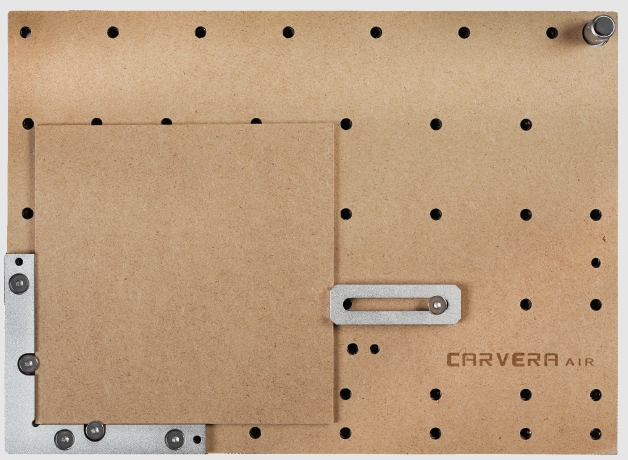
1. Secure the 150x150x2mm MDF to the bed, aligning it with the L-bracket at anchor point 1, as shown in the illustration below.

2. Turn on the power and wait for the automatic homing to complete.
3. Open the control software and connect to Carvera Air (please read Carvera Air instruction manual
for detailed steps)
4. Open Root->Examples->Laser in the remote directory. Select the“AudreyHepburn.nc” file.
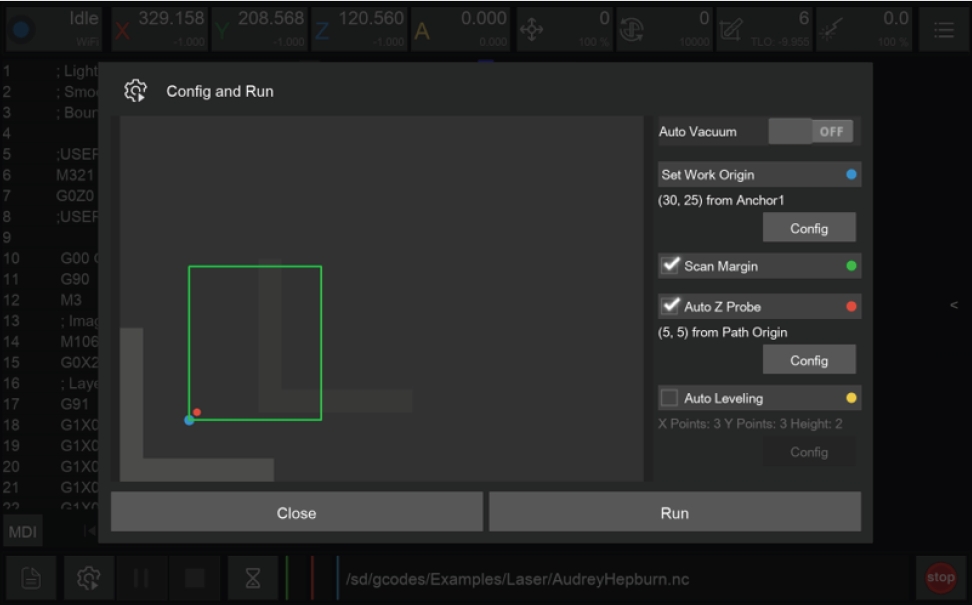
5. Open the task configuration and operation dialog box

6. Set working coordinate to X offset 30, and Y offset 25 relative to anchor 1.
7. Check the “Scan Margin” option.
8. Check the “Auto Z Probe” option, set the probe point to X offset 5, Y offset 5 relative to Path Origin.
9. Uncheck the “Auto Leveling” option(Because laser engraving has a high tolerance for flatness, no need for leveling).
10. Check the configuration according to the figure above and click Run, change the tools according to the controller software's prompt.(Please refer to Item 6 of “No UV solder mask”)
11. You can move the machine to the clearance position after the operation is completed to reduce the interference to subsequent operations.(Please refer to Item 7 of “No UV solder mask”)