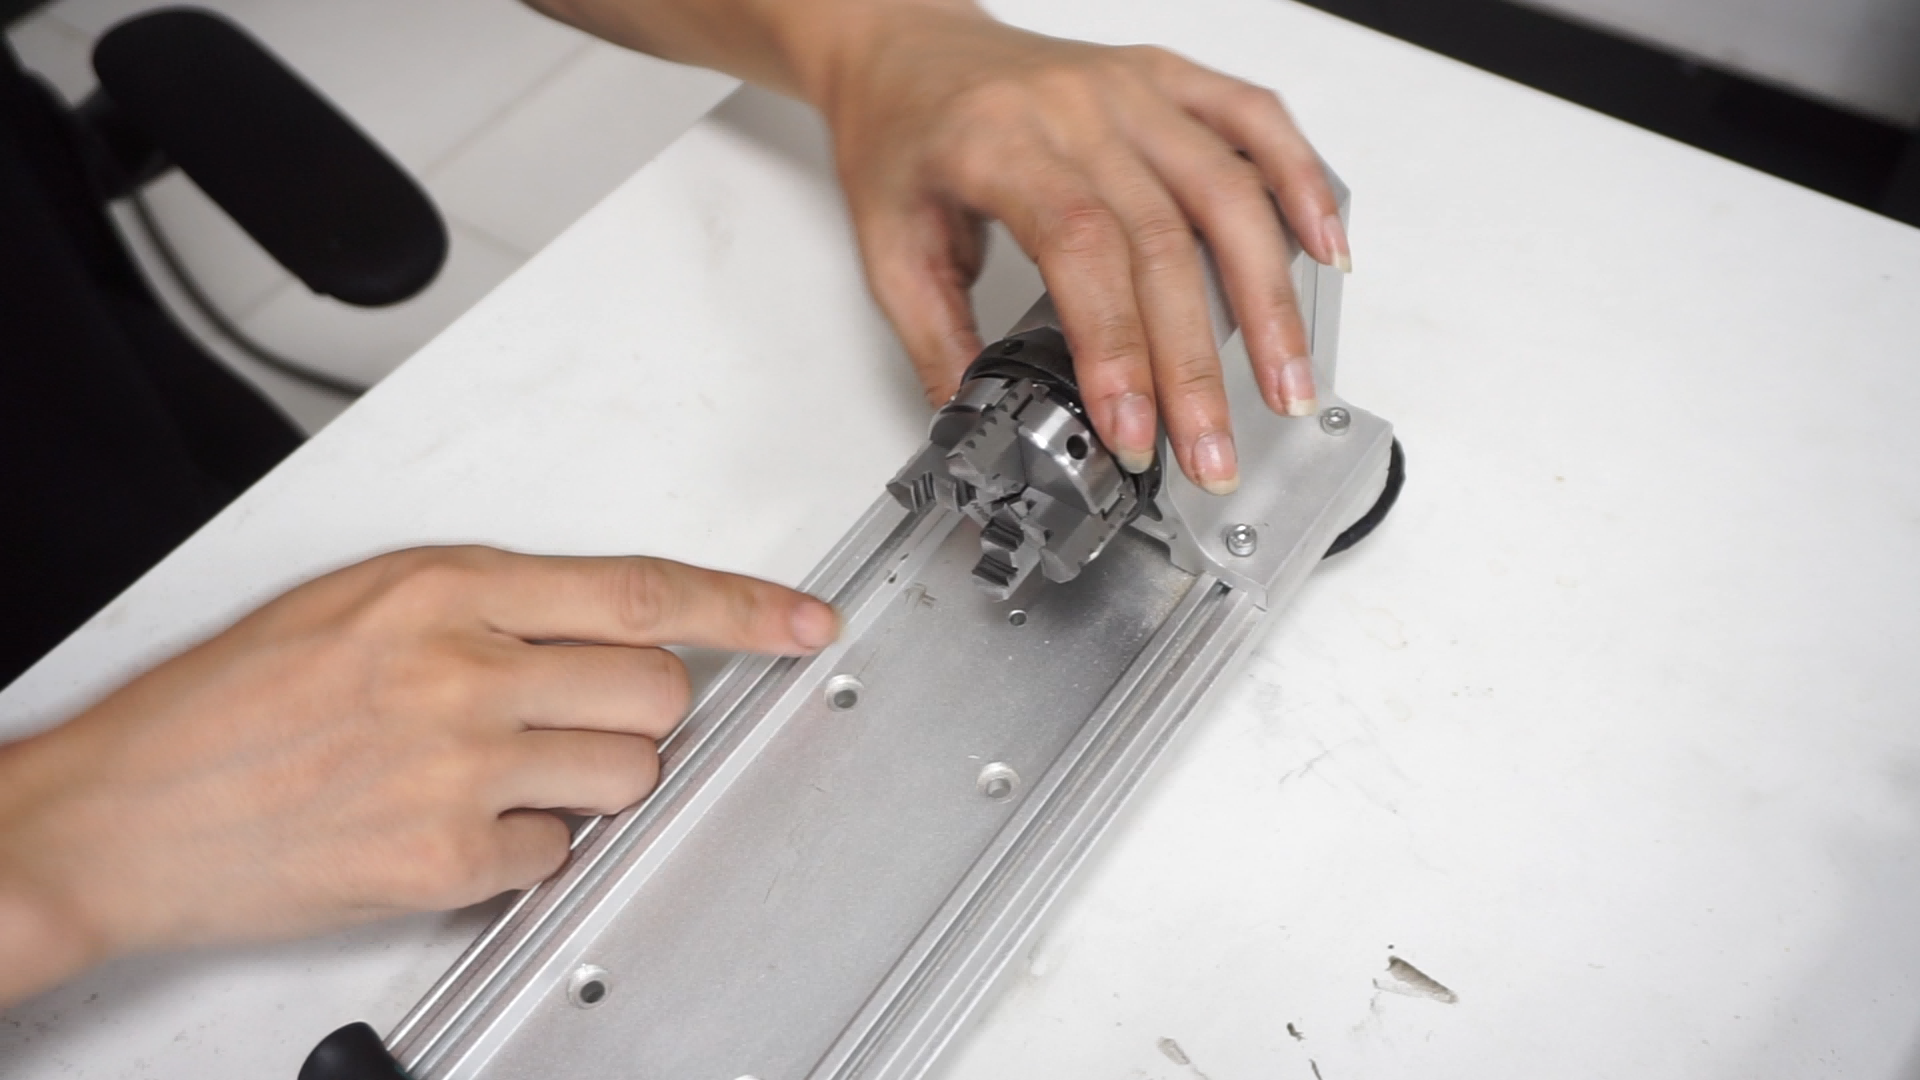
¶ Converting from Reverse-Jaw Chuck to Forward-Jaw Chuck:
1. Loosen the chuck by rotating it until the jaws can be taken out. Please be cautious, as the rear nut will become very tight just before the jaws are almost completely loosened. You'll need to manually pry the jaws outward.
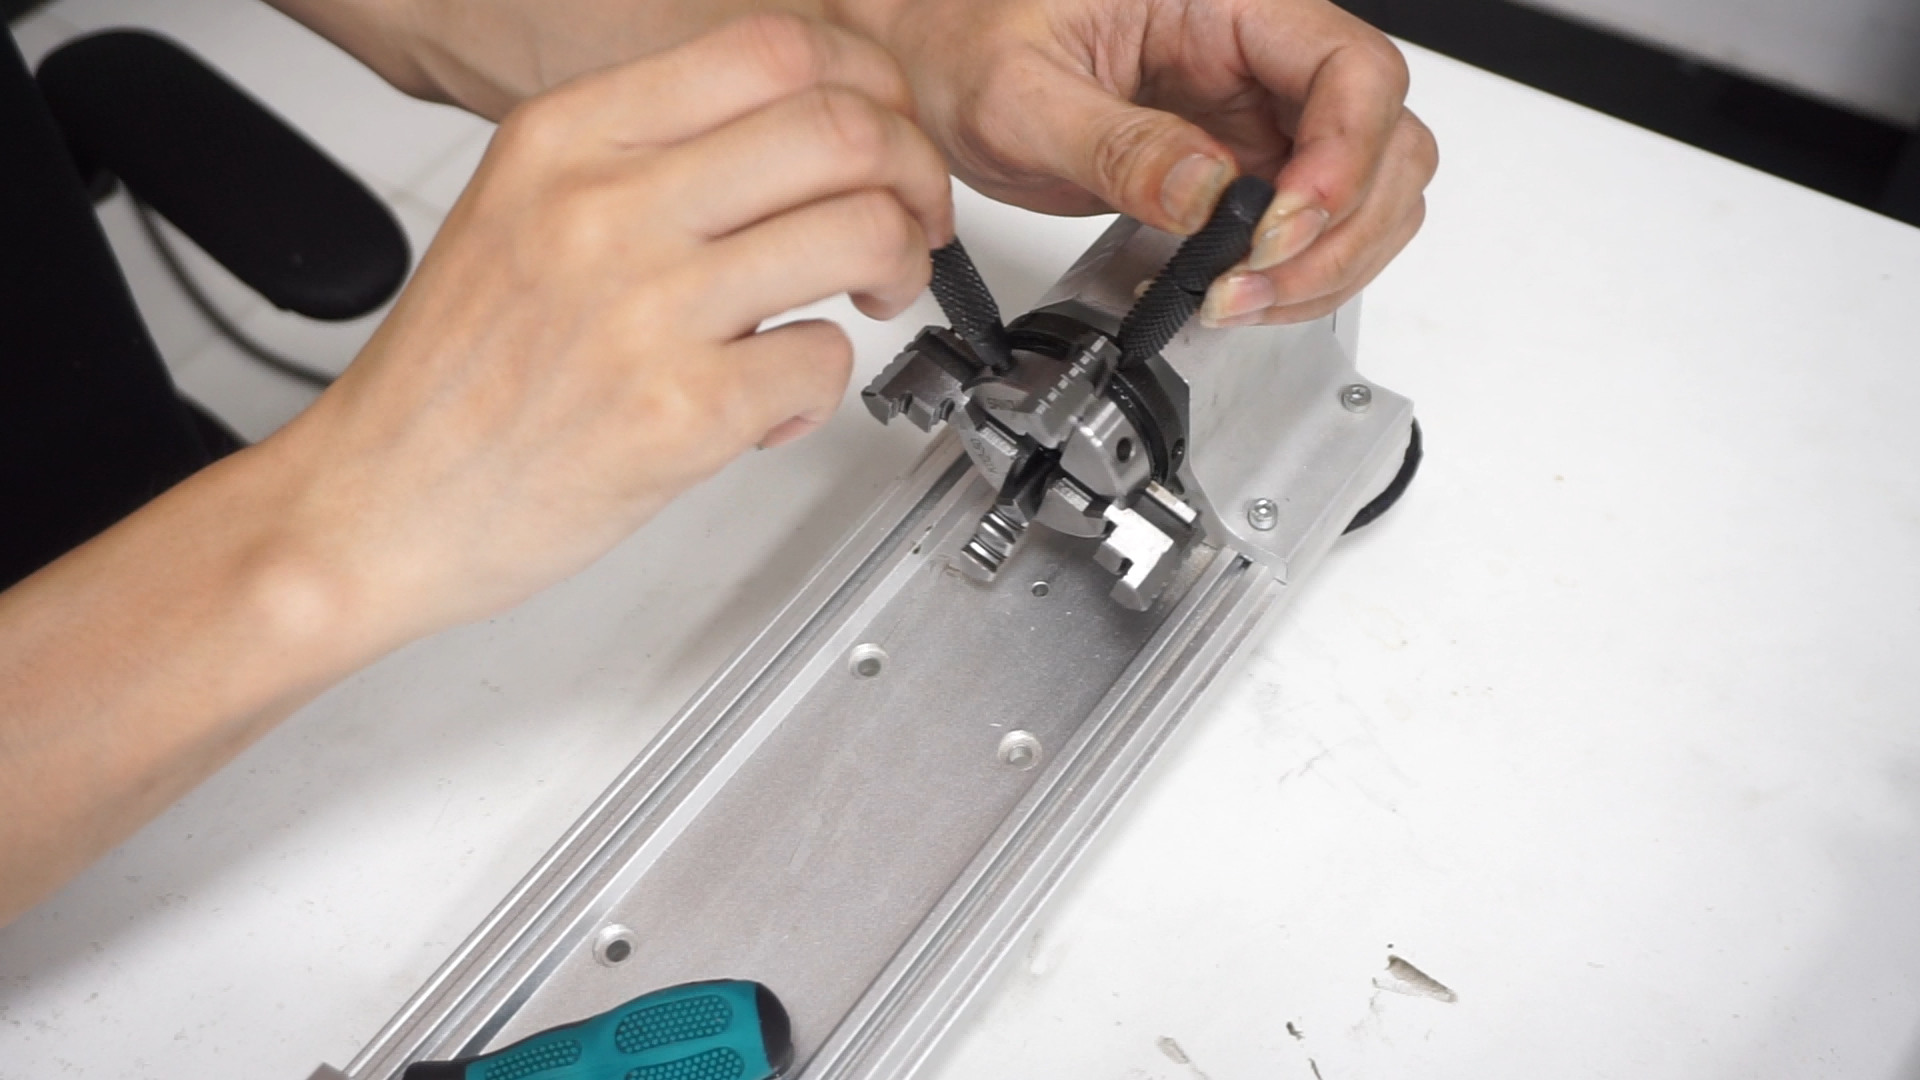
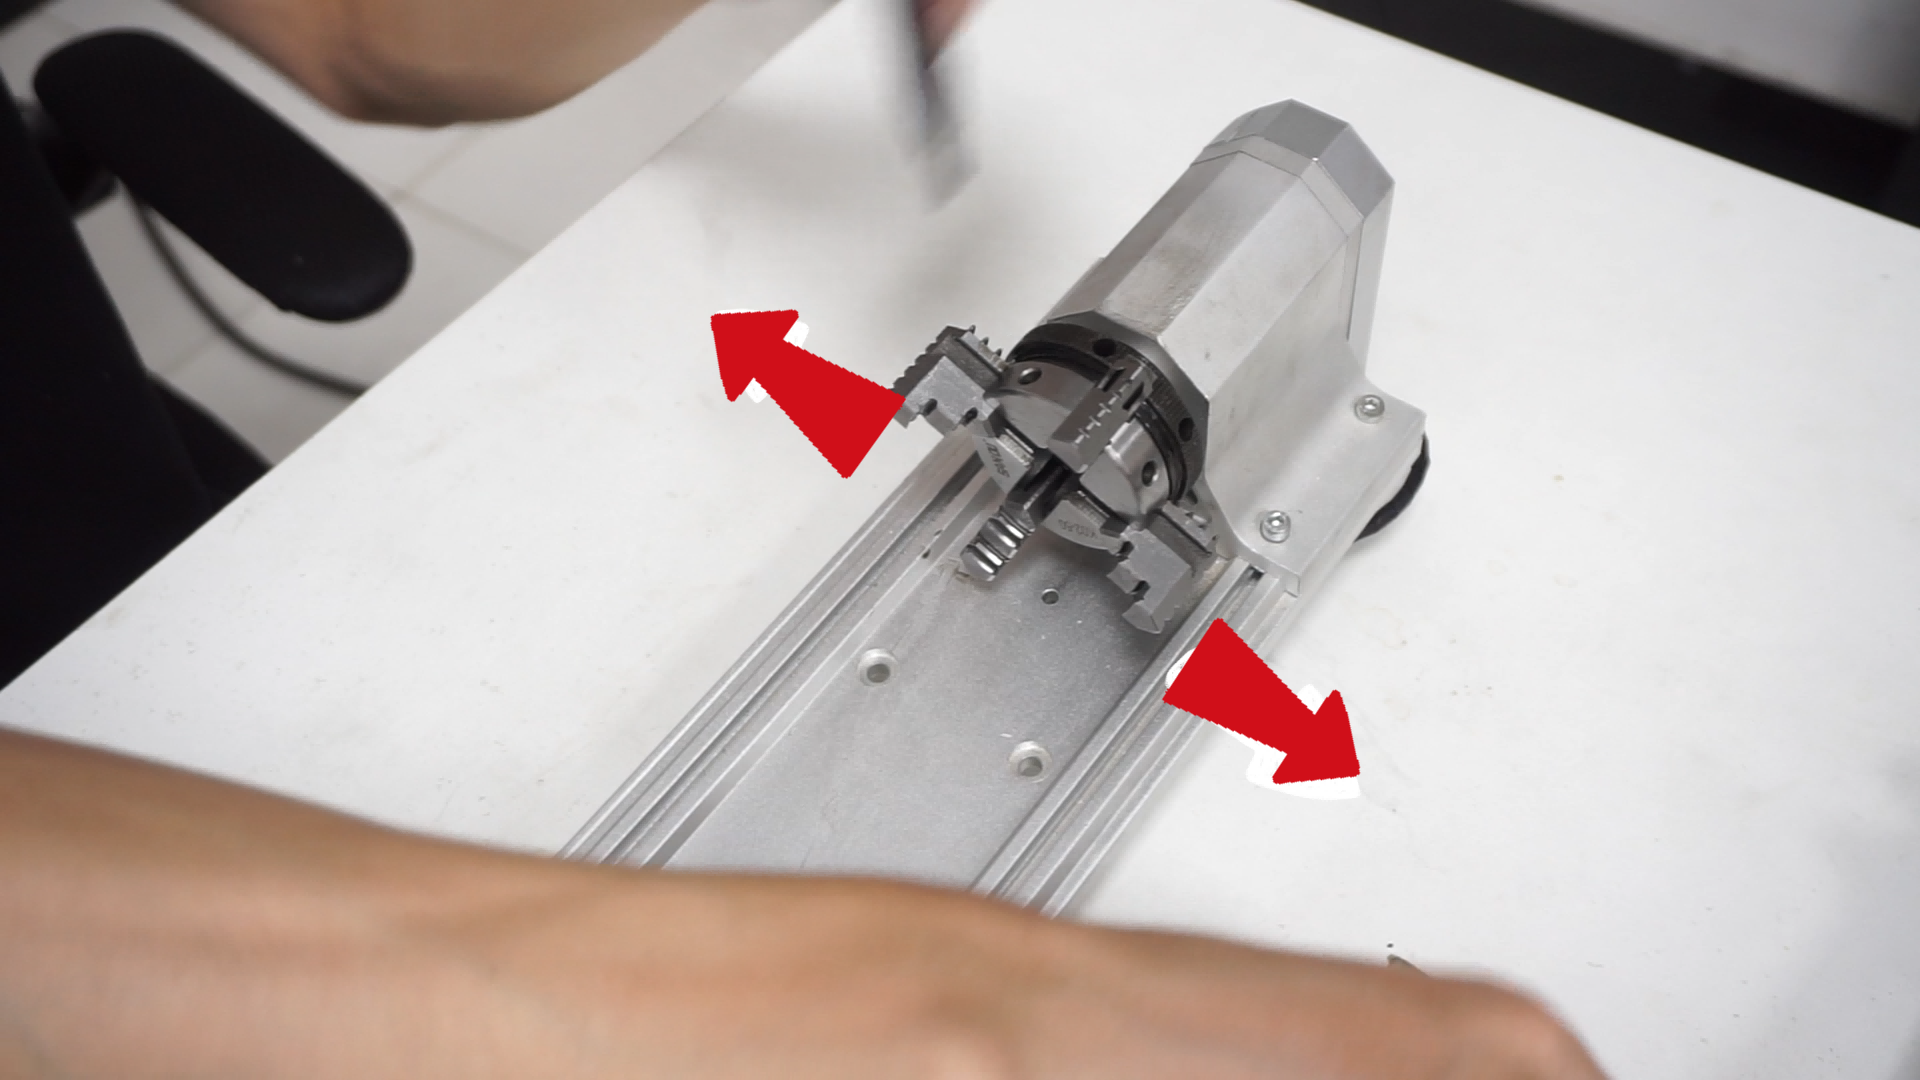
2. After removing all the jaws, observe the numbering on each jaw. The correct order for the forward-jaw chuck is No.1 - No.2 - No.3 - No.4.
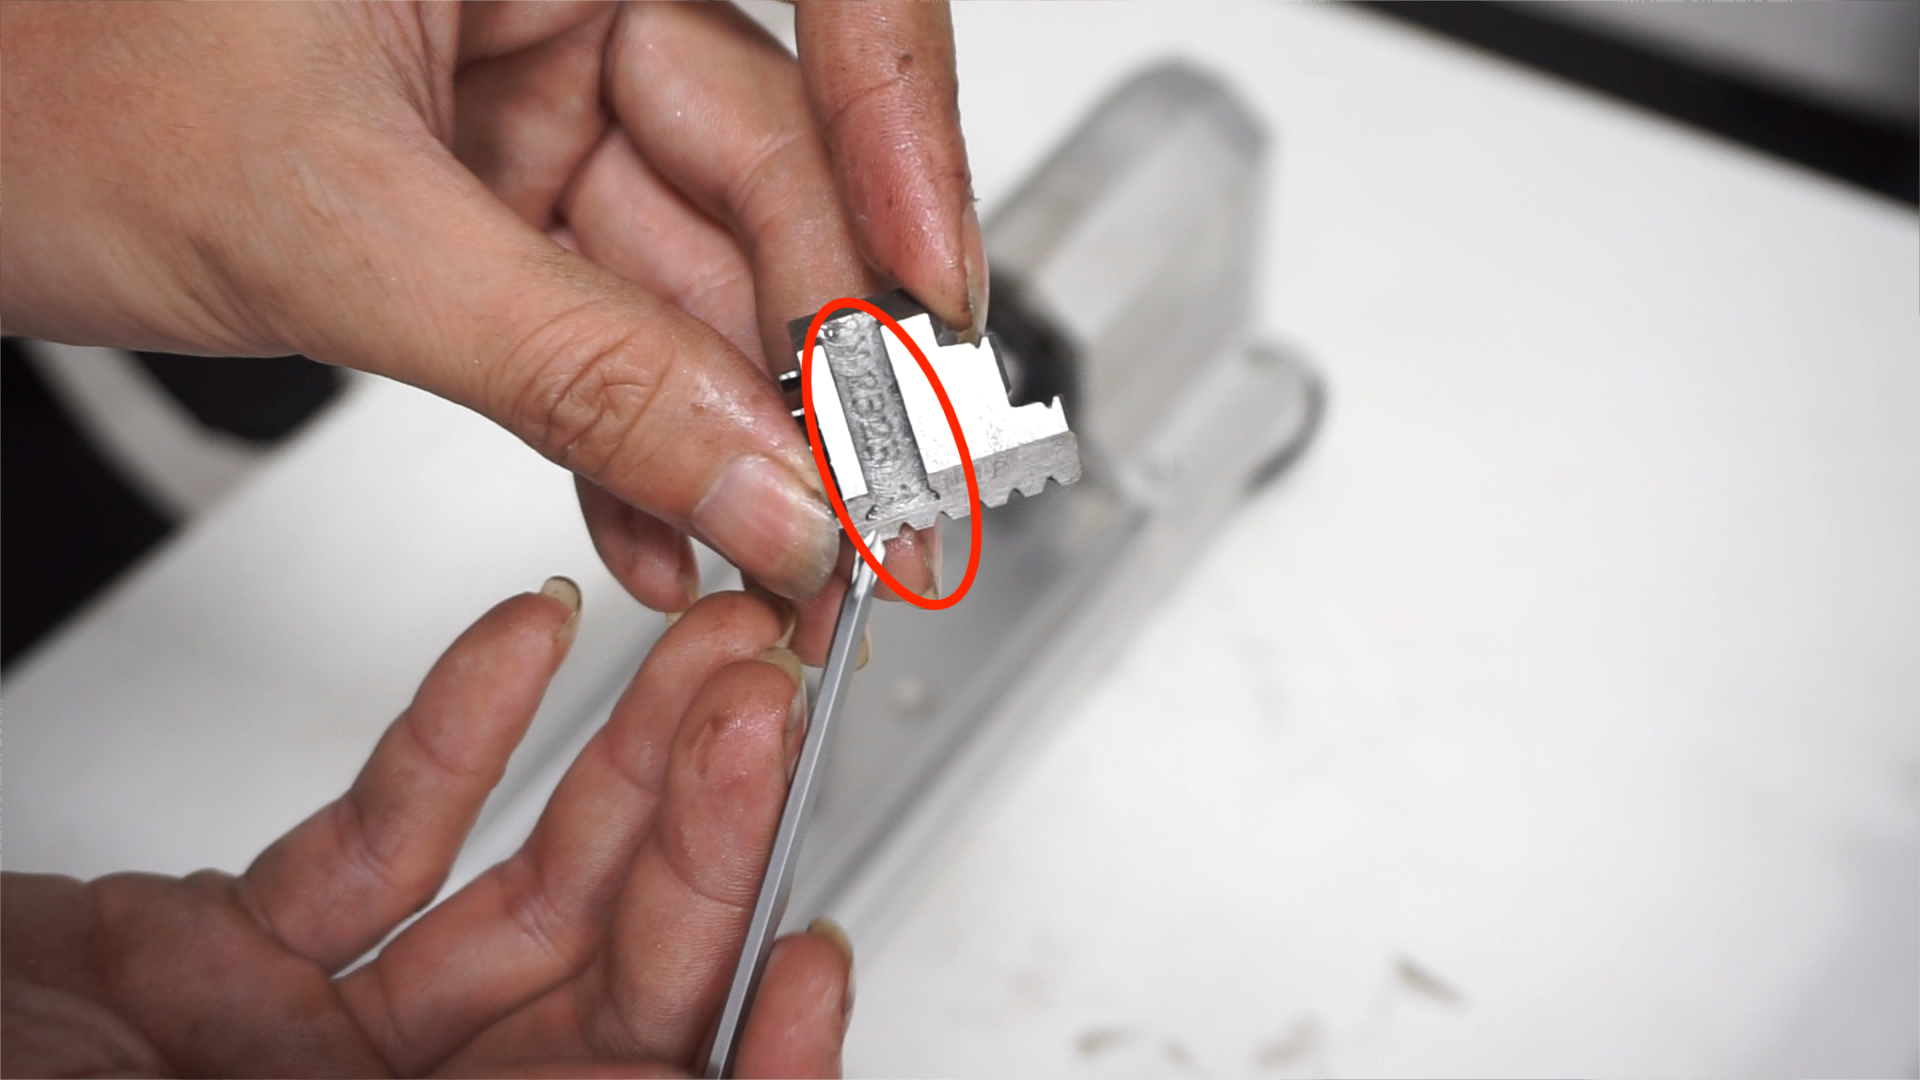
3. When installing the forward-jaw chuck, rotate the rear nut of the chuck and align the notch on the nut with any of the slots. Then, insert No.1 jaw and rotate the rear nut.
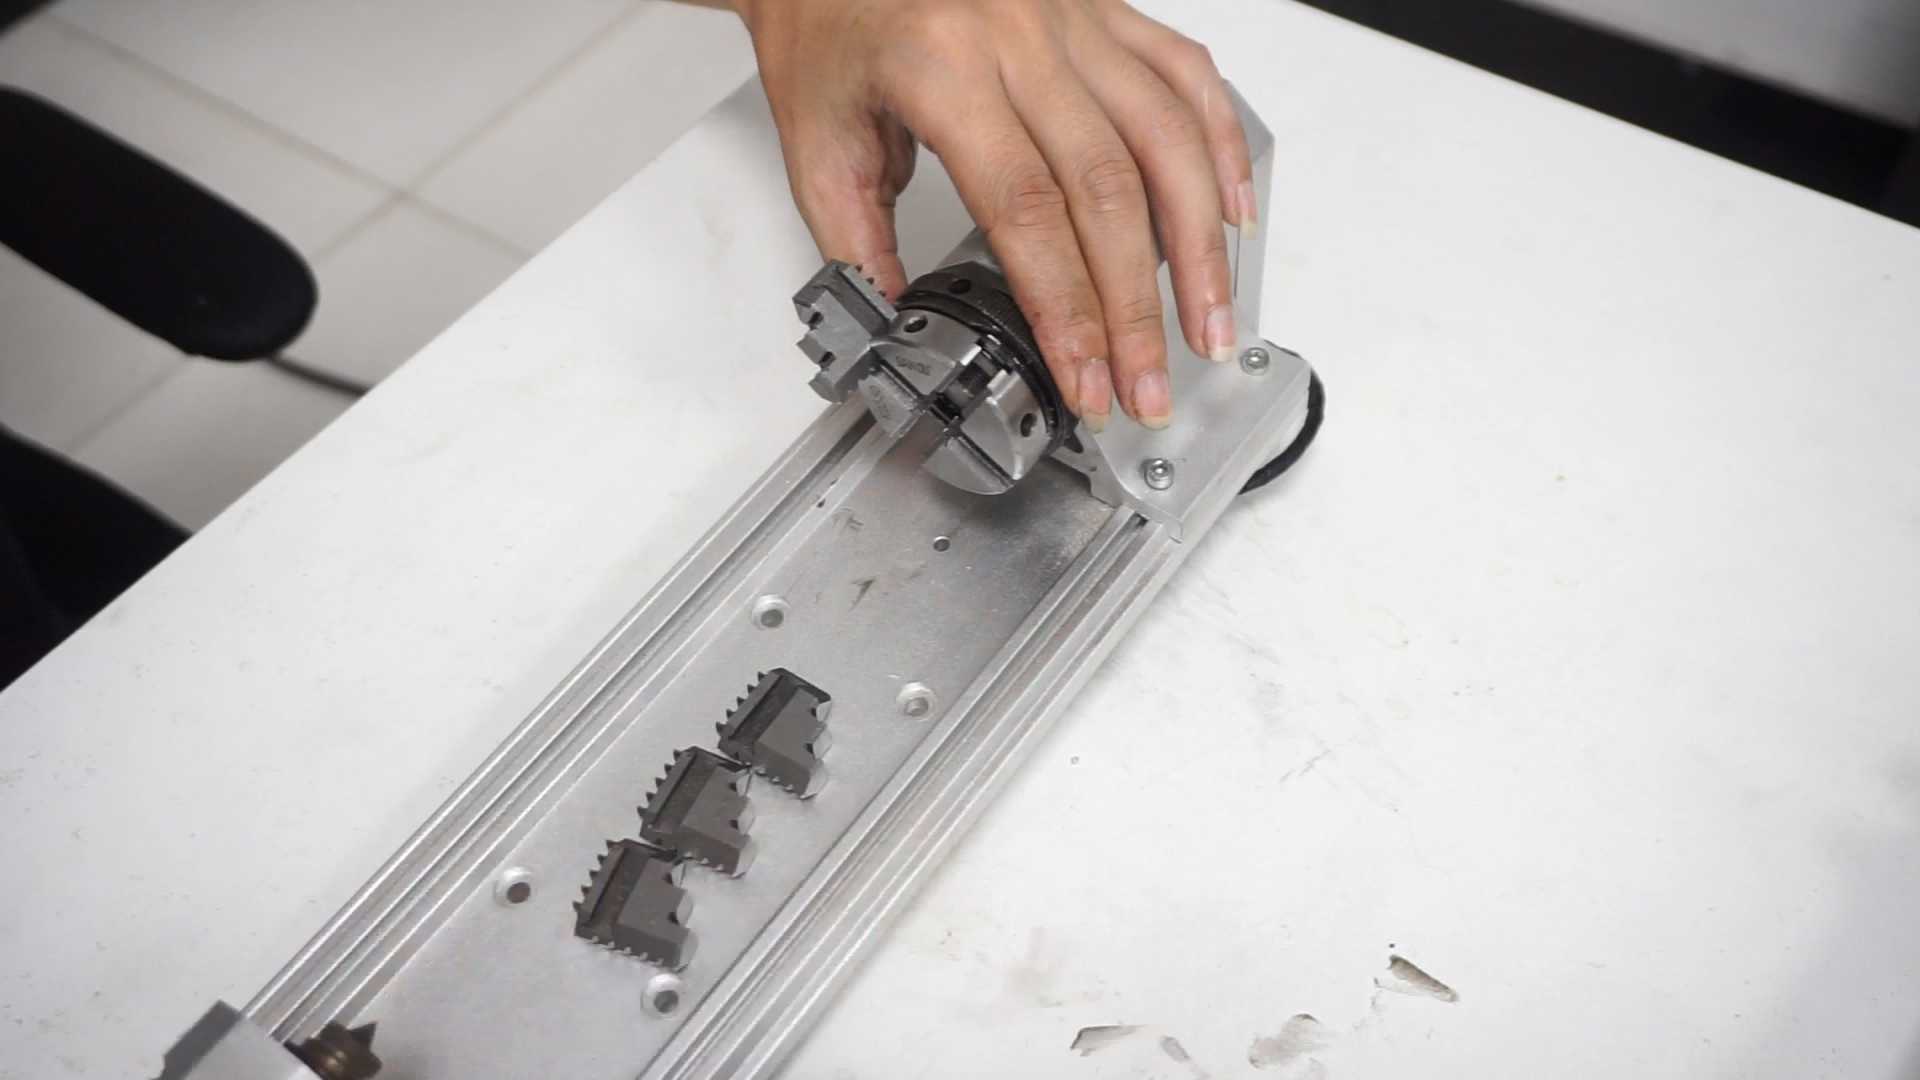
4. Rotate the rear nut 90° and insert No.2 jaw into the next slot.
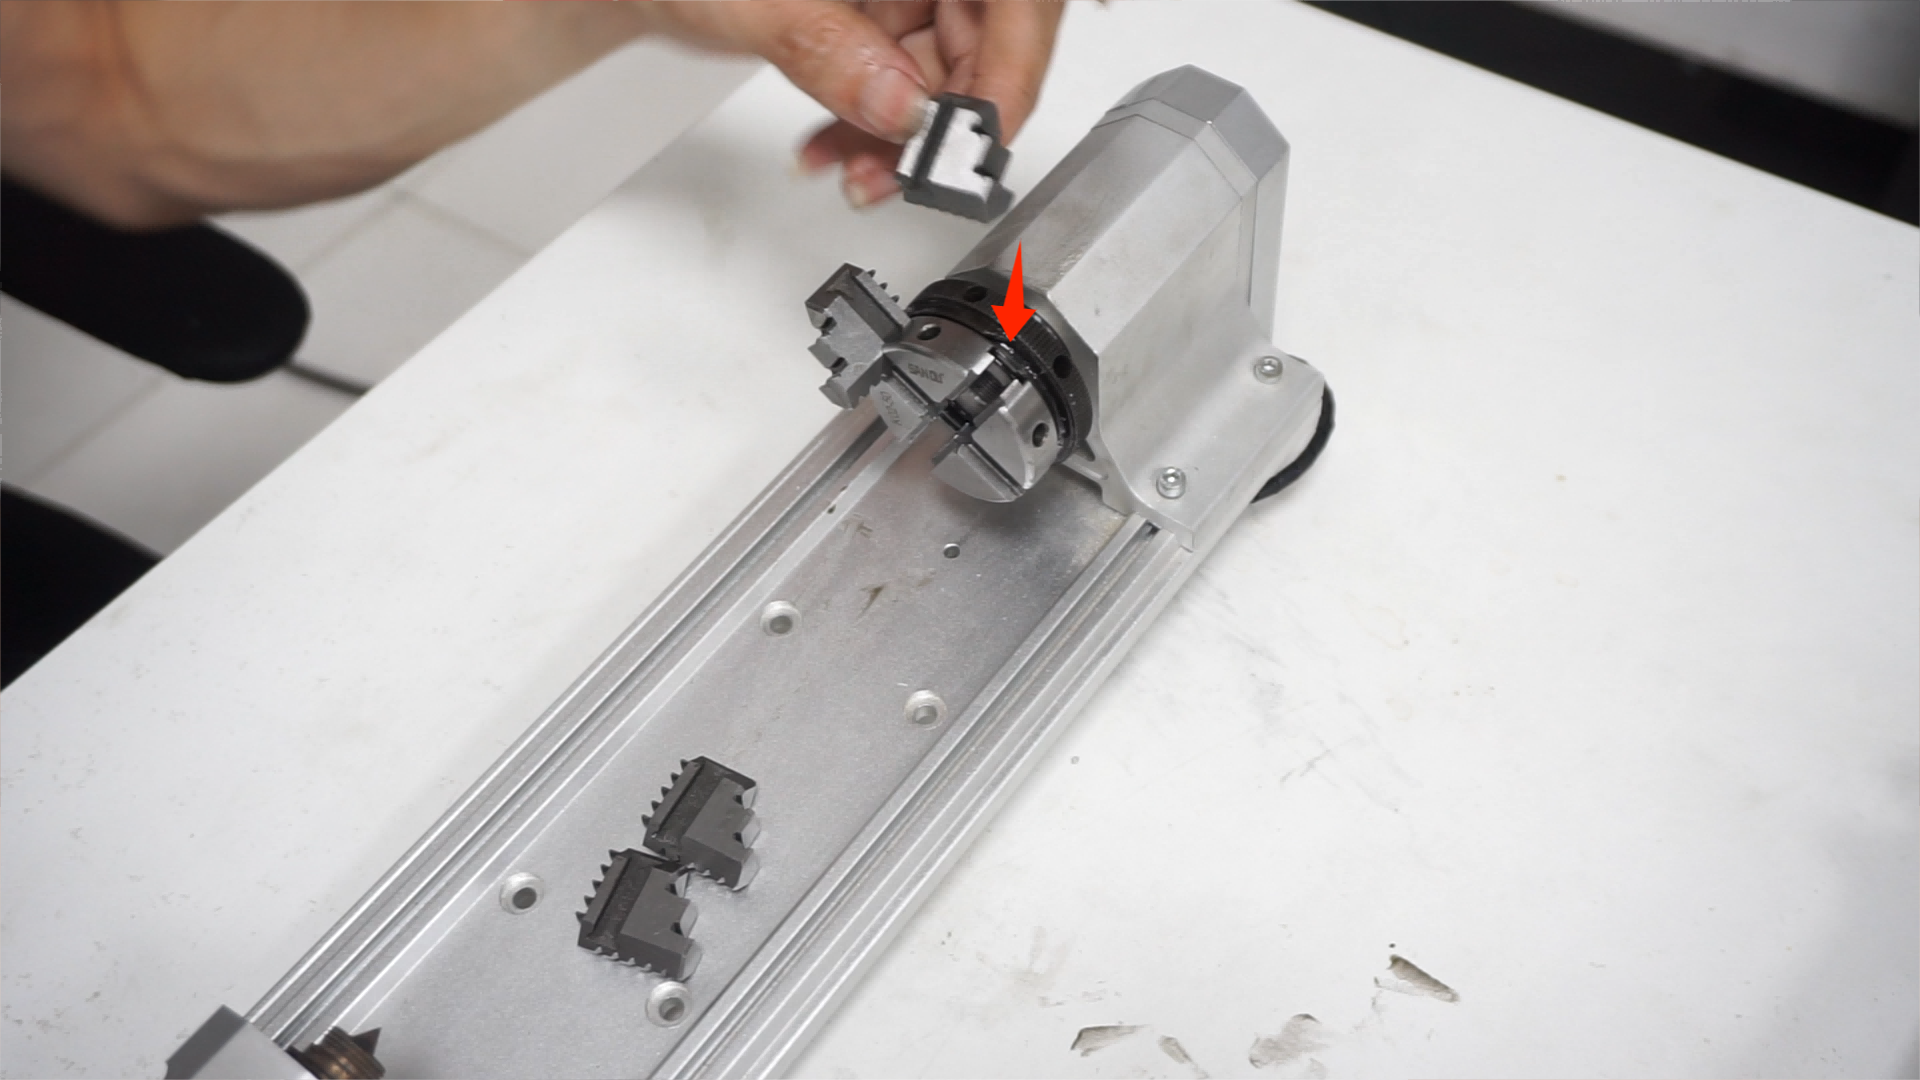
5. Please note that at this point, the jaws have limited contact with the slots, resulting in weaker sliding ability. Gently shake the jaws manually to align them inward before turning the rear nut again.
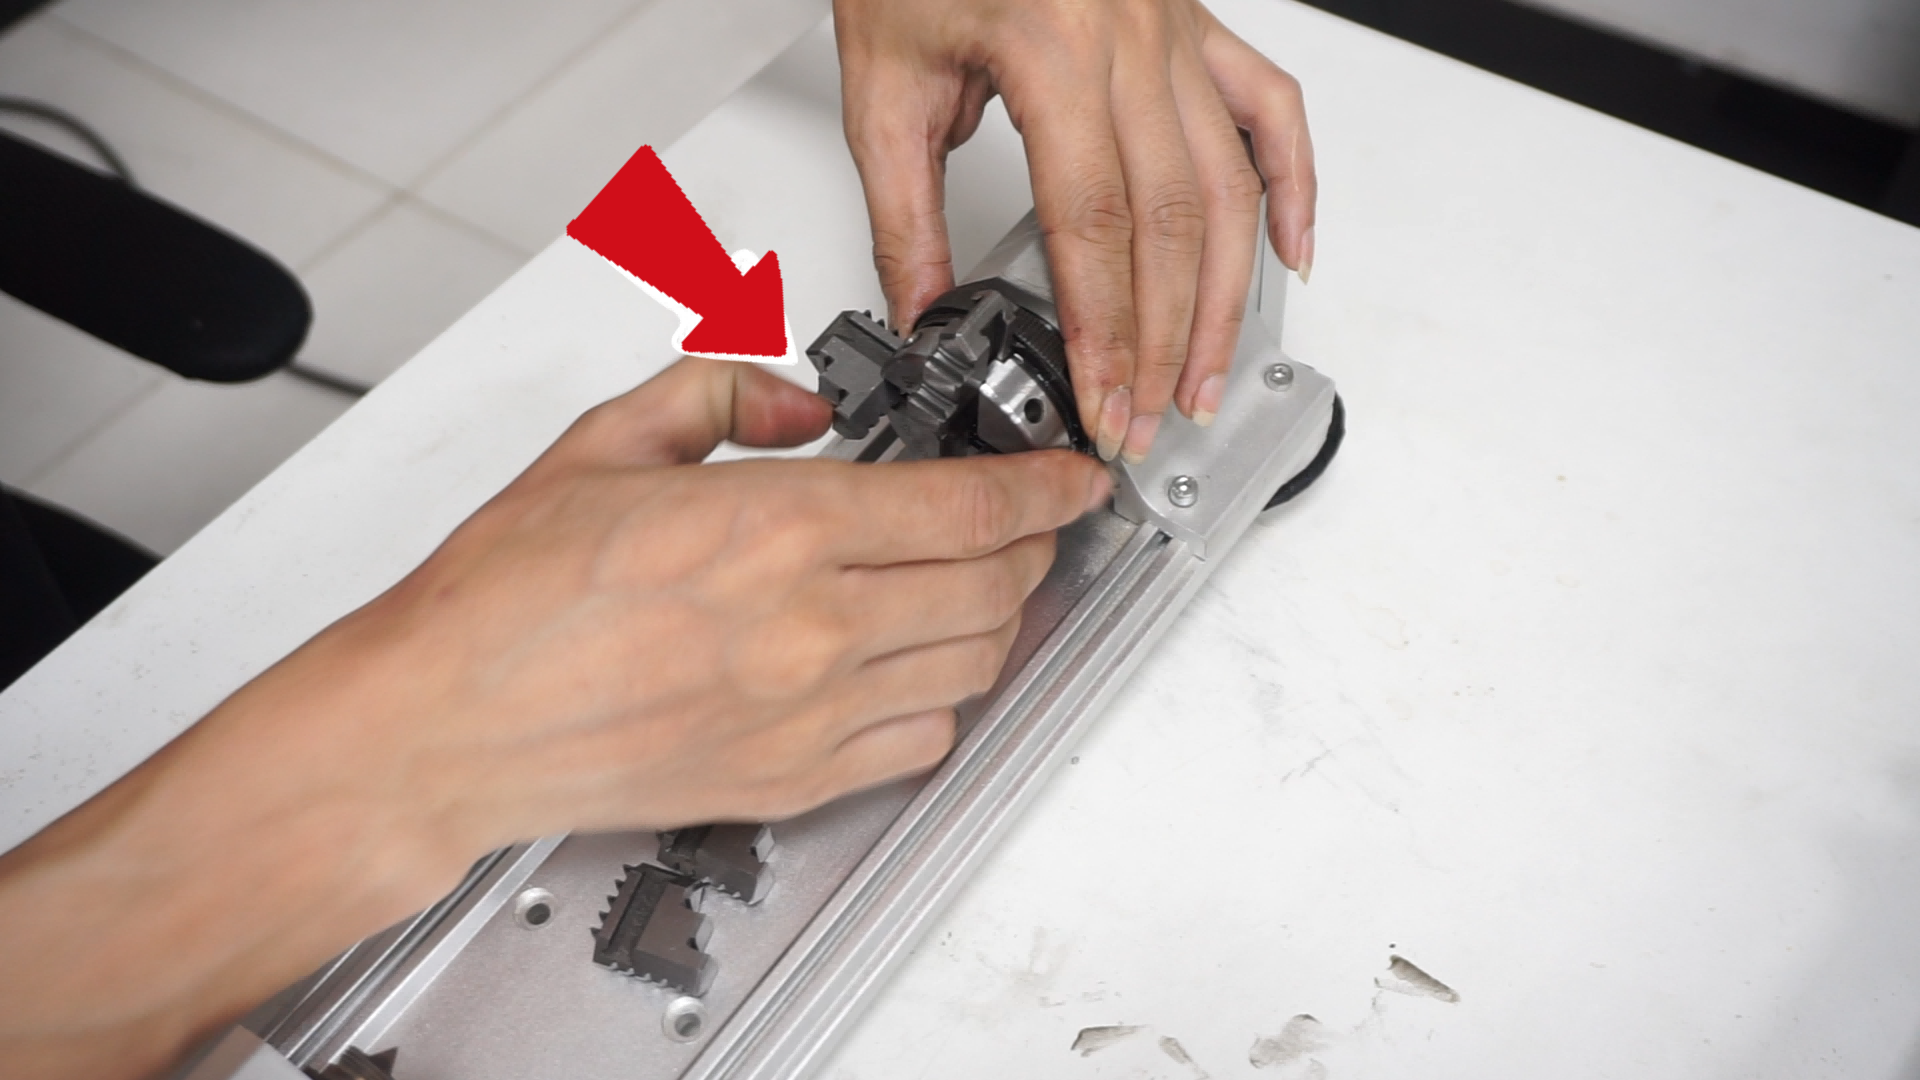
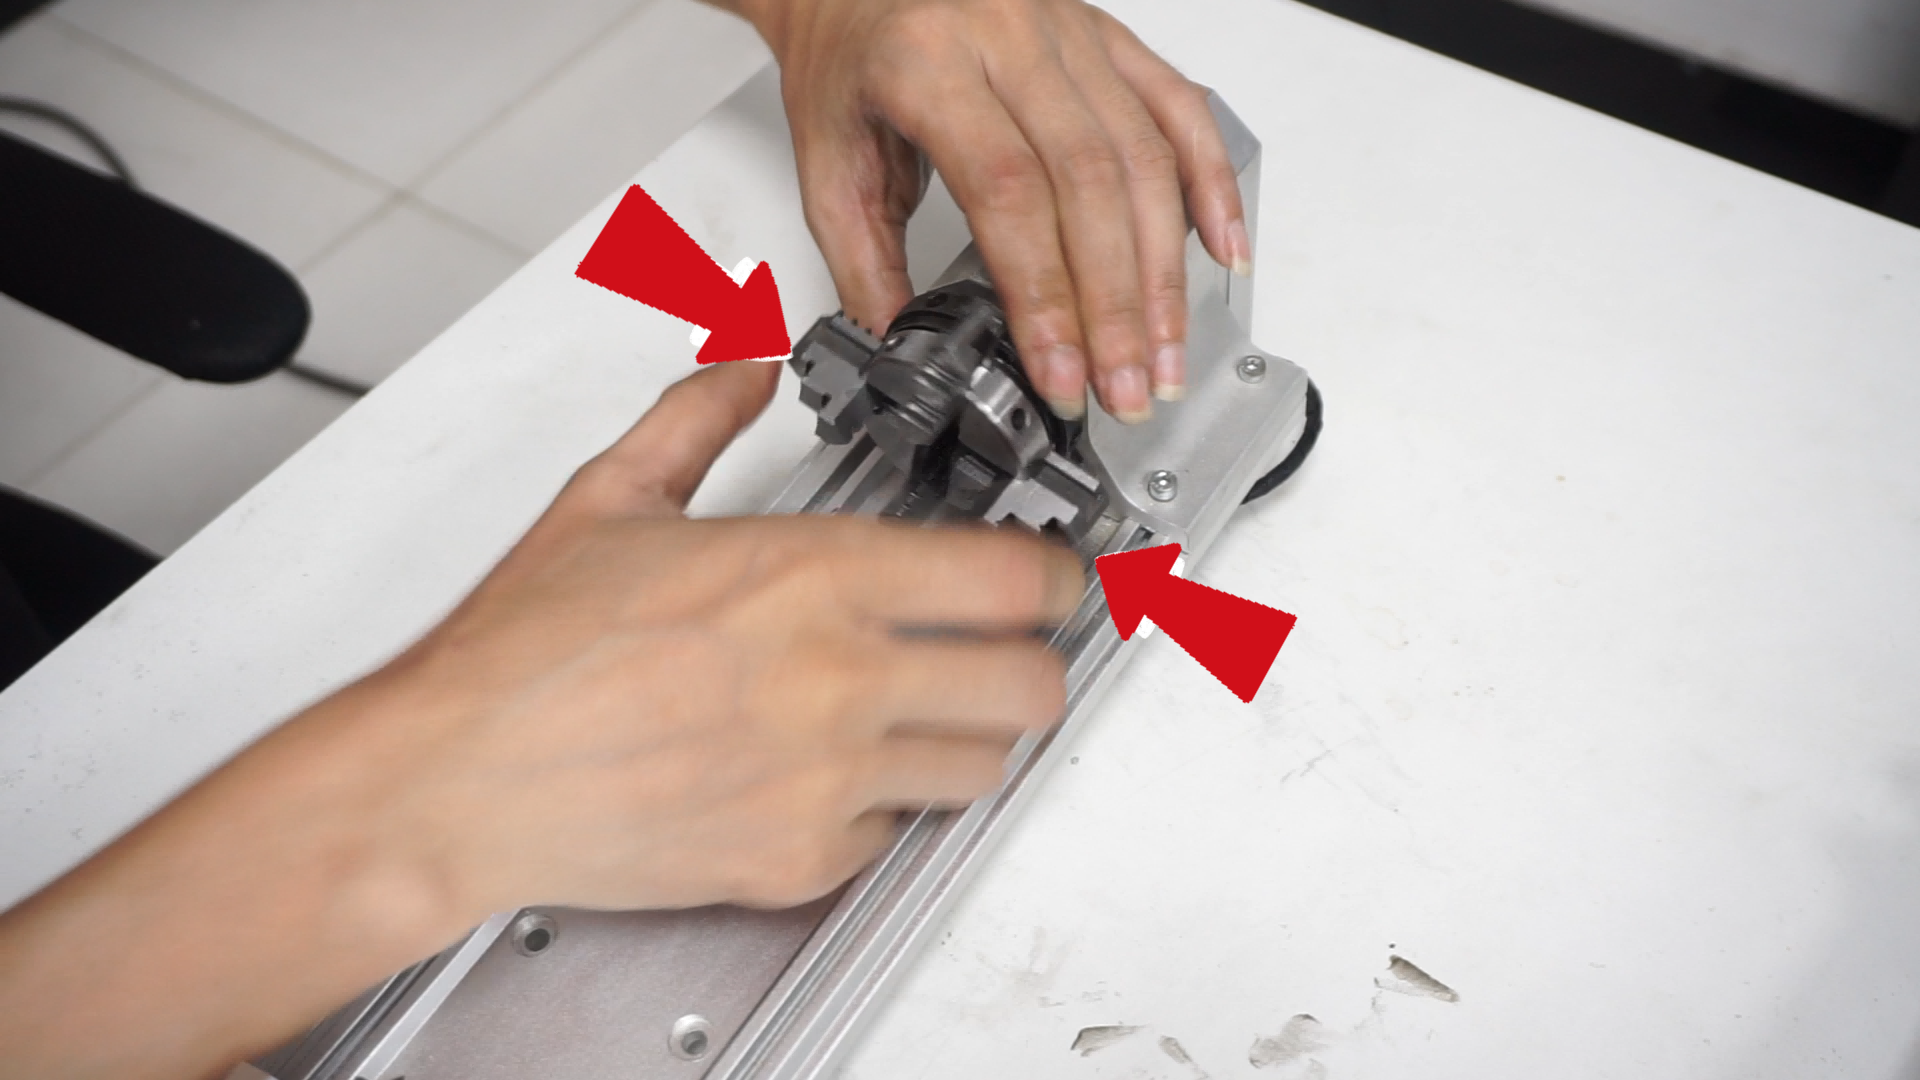
6. Repeat the same process for the front section, sequentially installing No.3 and No.4 jaws, until the rear nut can be fully tightened.
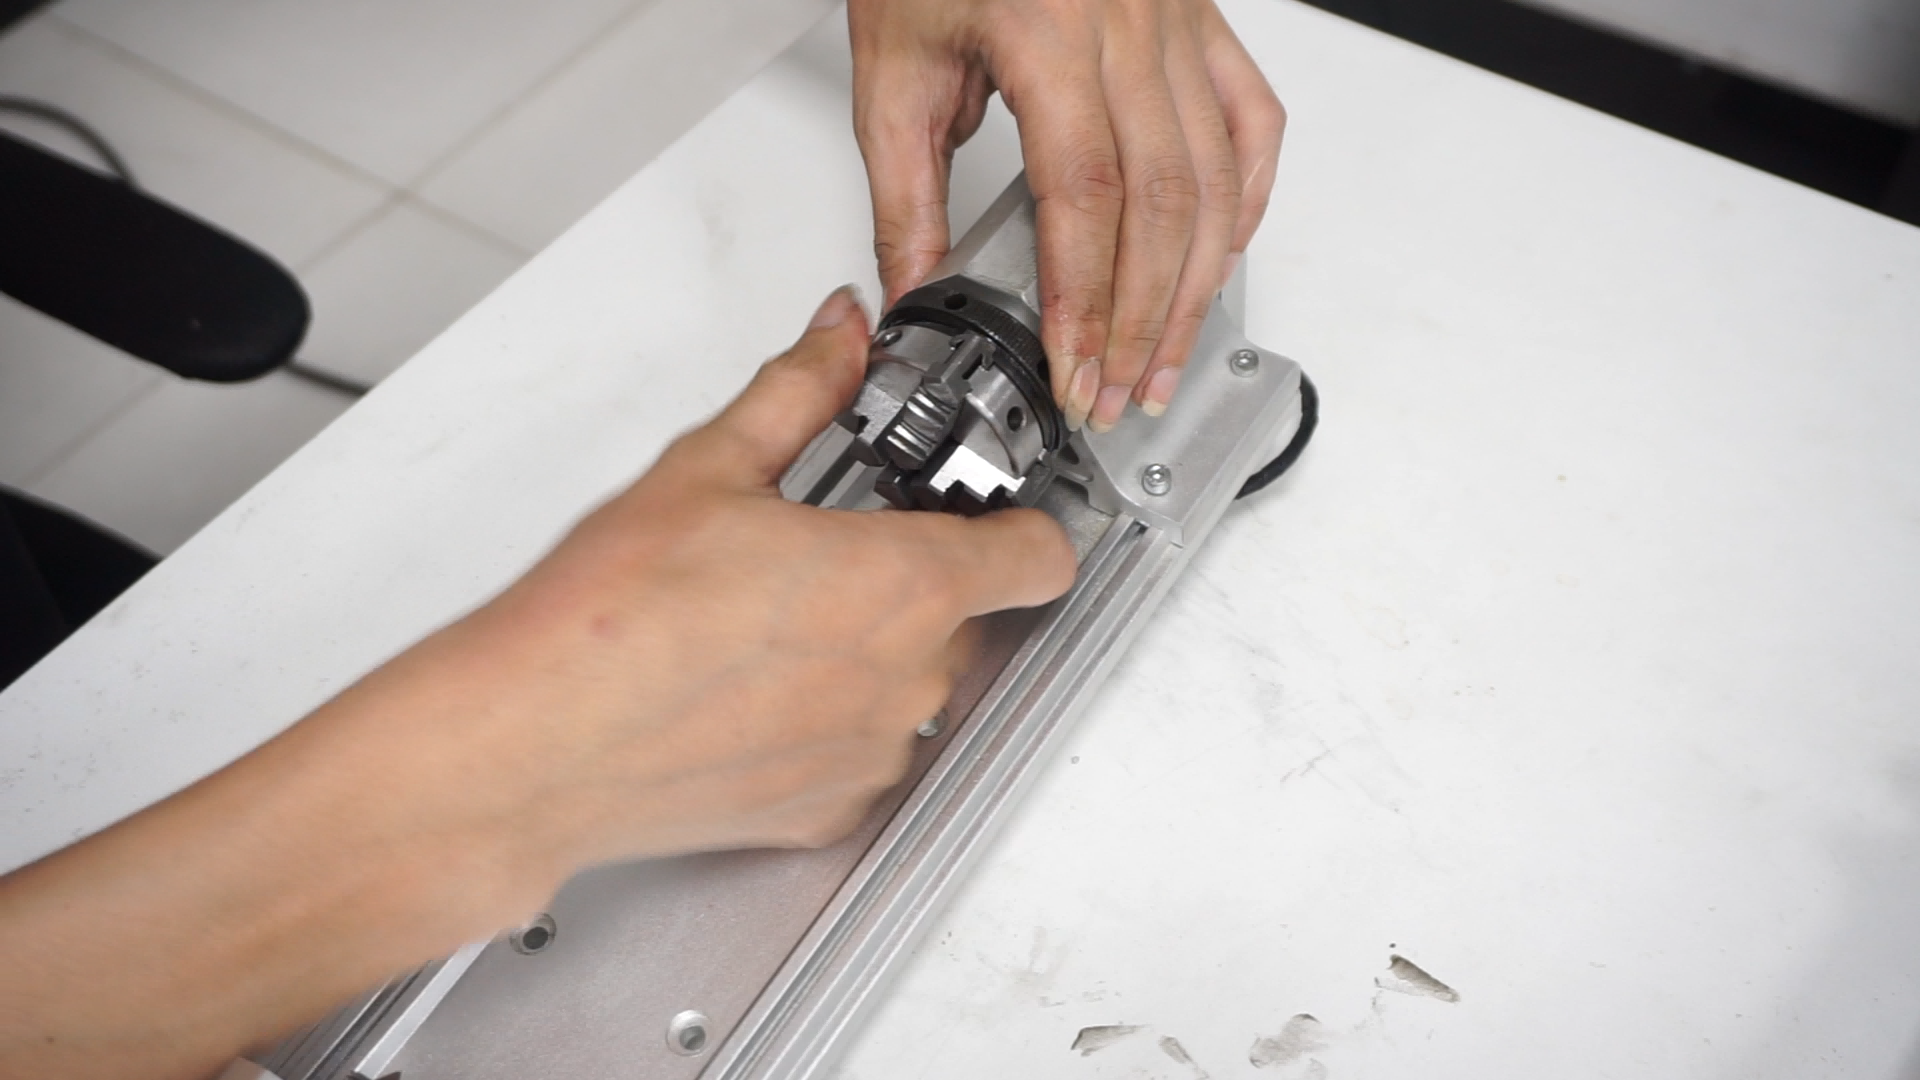
¶ Converting from Forward-Jaw Chuck to Reverse-Jaw Chuck:
1. Loosen the chuck by rotating it until the jaws can be taken out. Please be cautious, as the rear nut will become very tight just before the jaws are almost completely loosened. You'll need to manually pry the jaws outward.
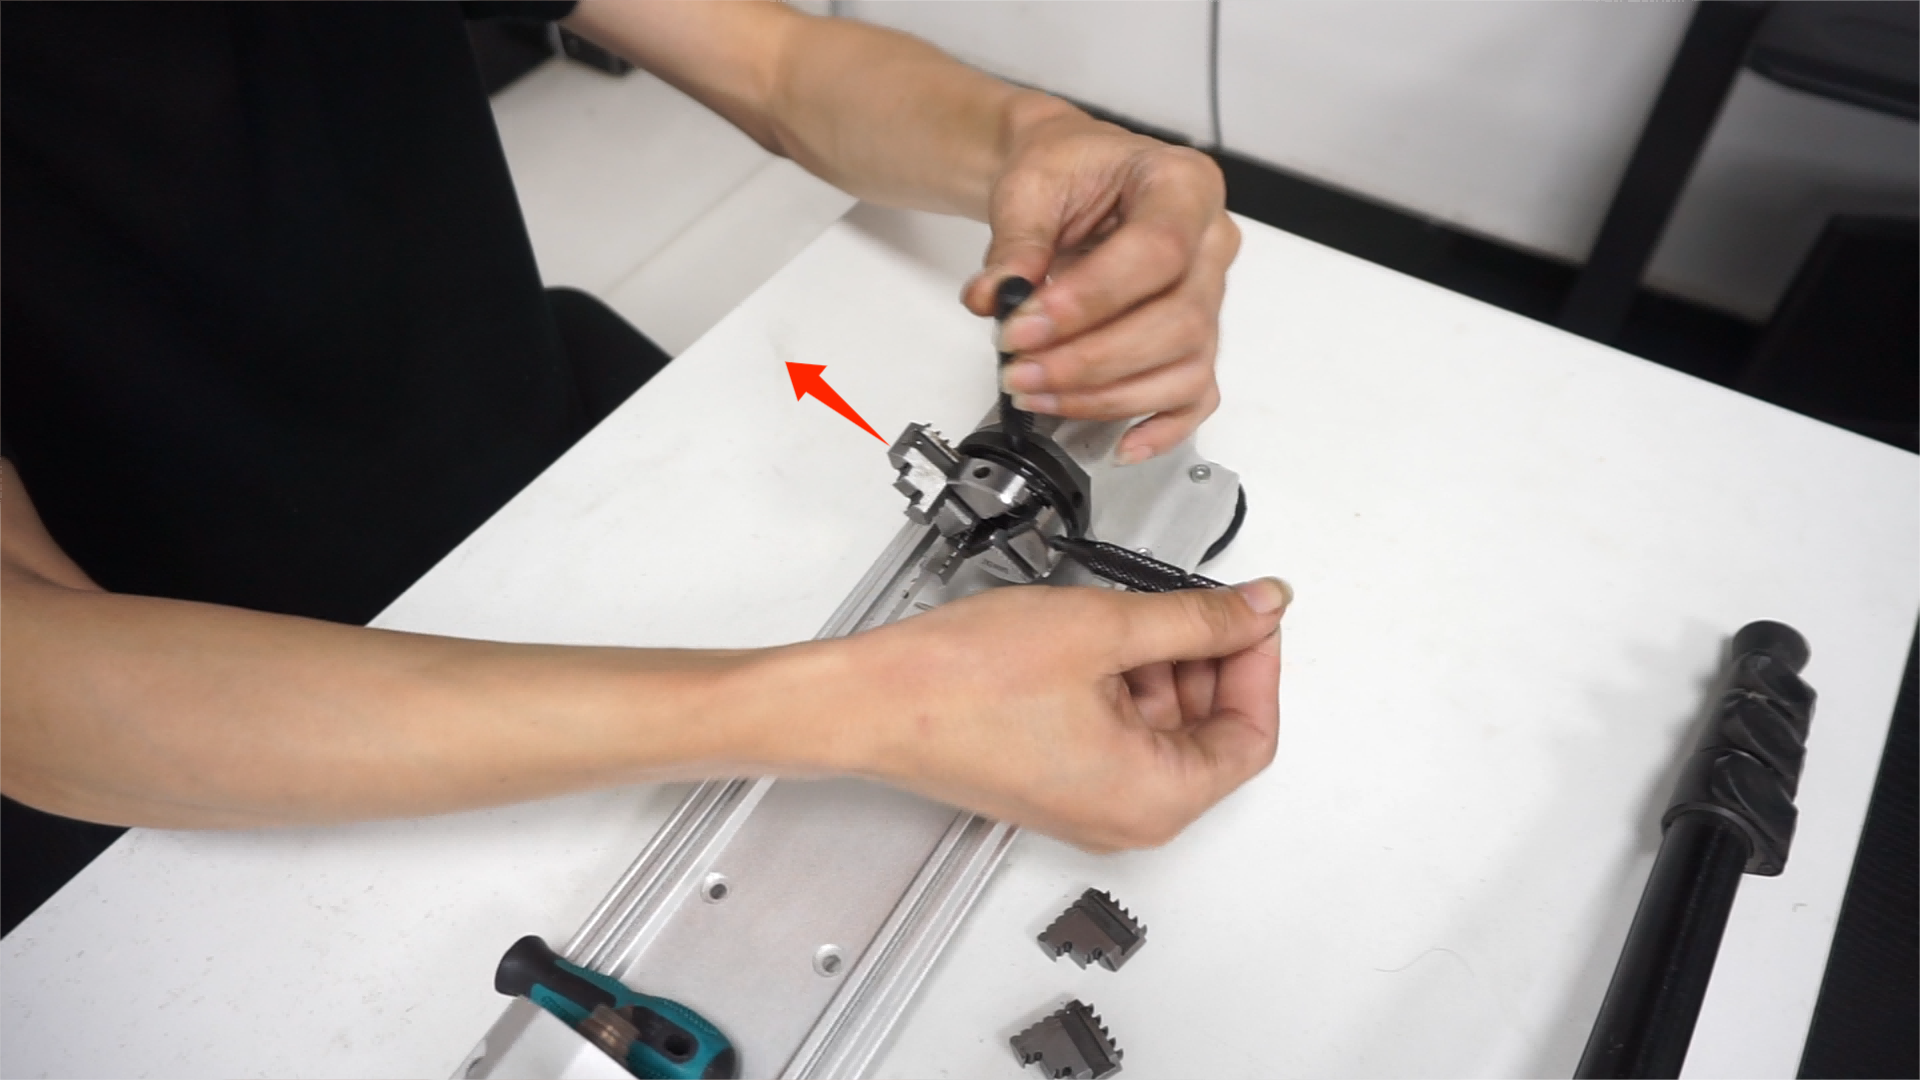
2. After removing all the jaws, observe the numbering on each jaw. The correct order for the reverse-jaw chuck is No.4 - No.3 - No.2 - No.1.
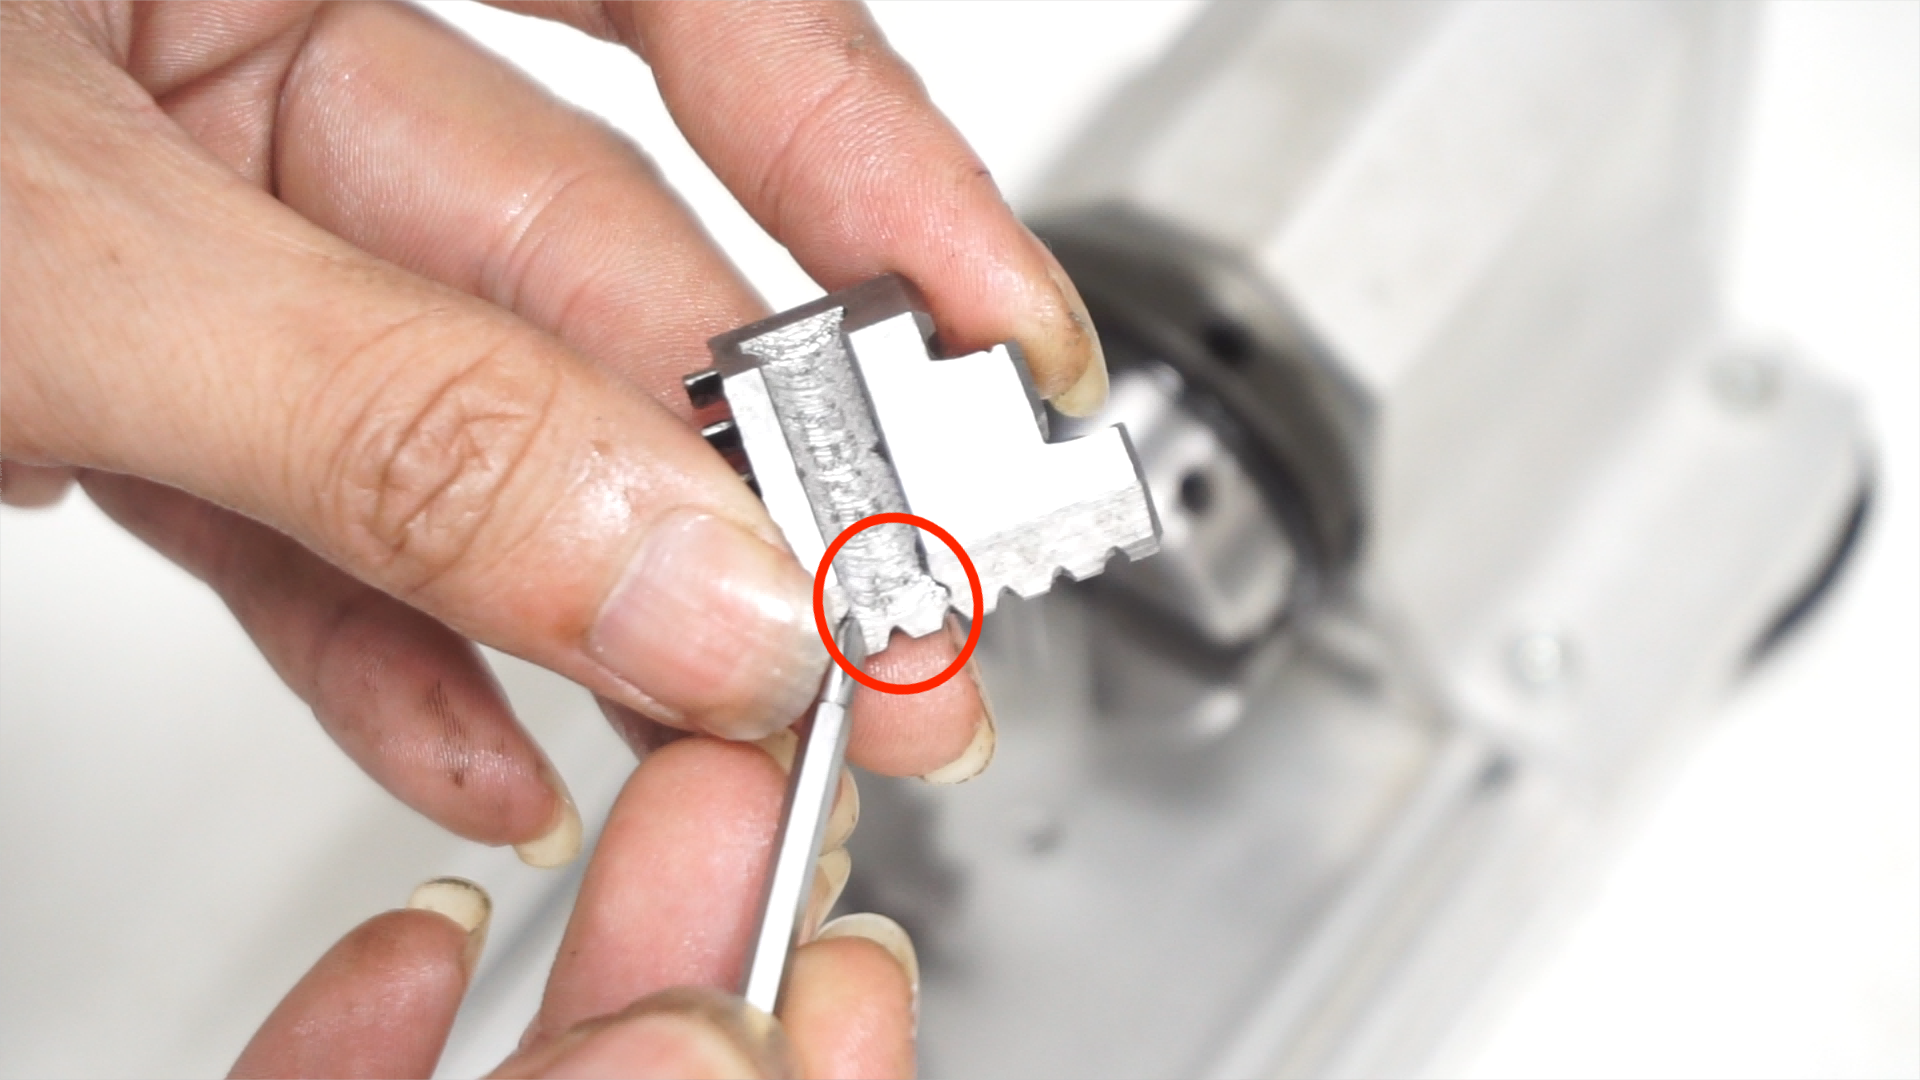
3. When installing the reverse-jaw chuck, rotate the rear nut of the chuck and align the notch on the nut with any of the slots. Then, insert No.4 jaw and rotate the rear nut.
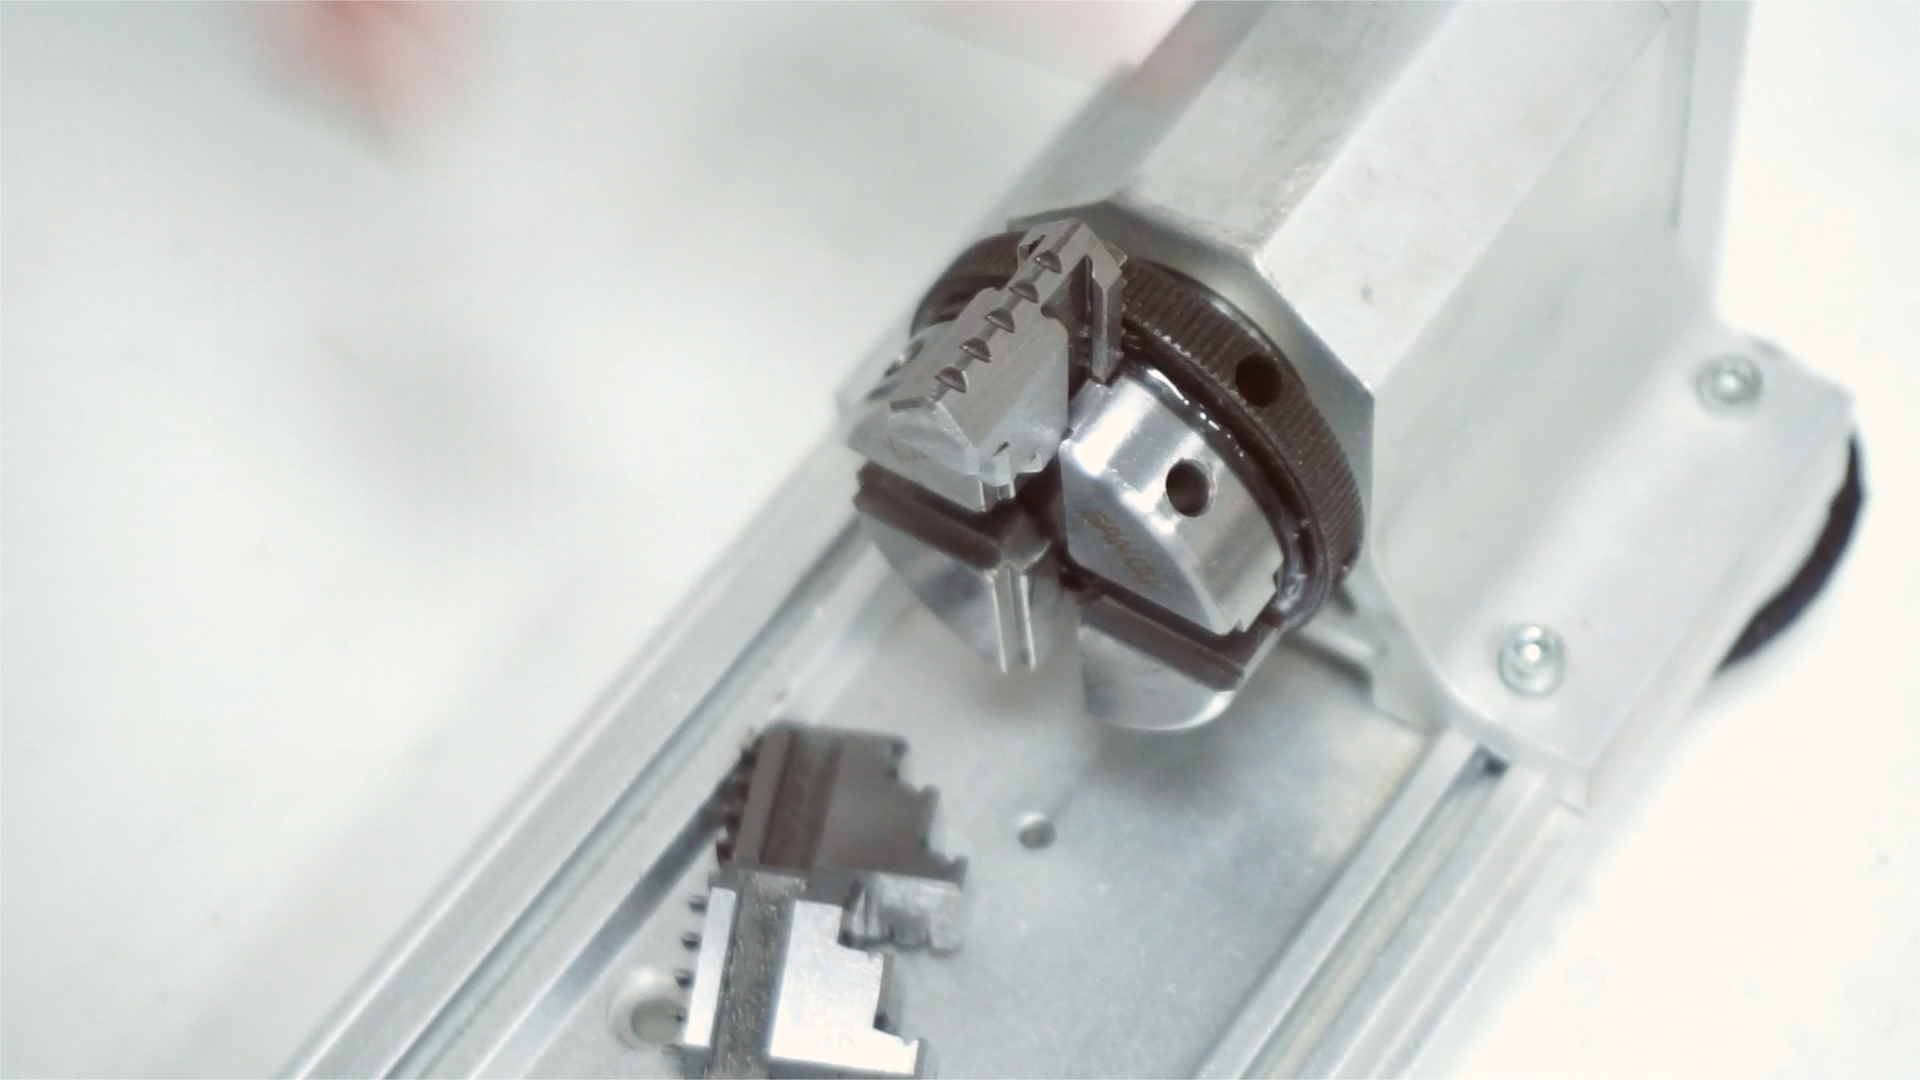
4. Rotate the rear nut 90° and insert No.3 jaw into the next slot.
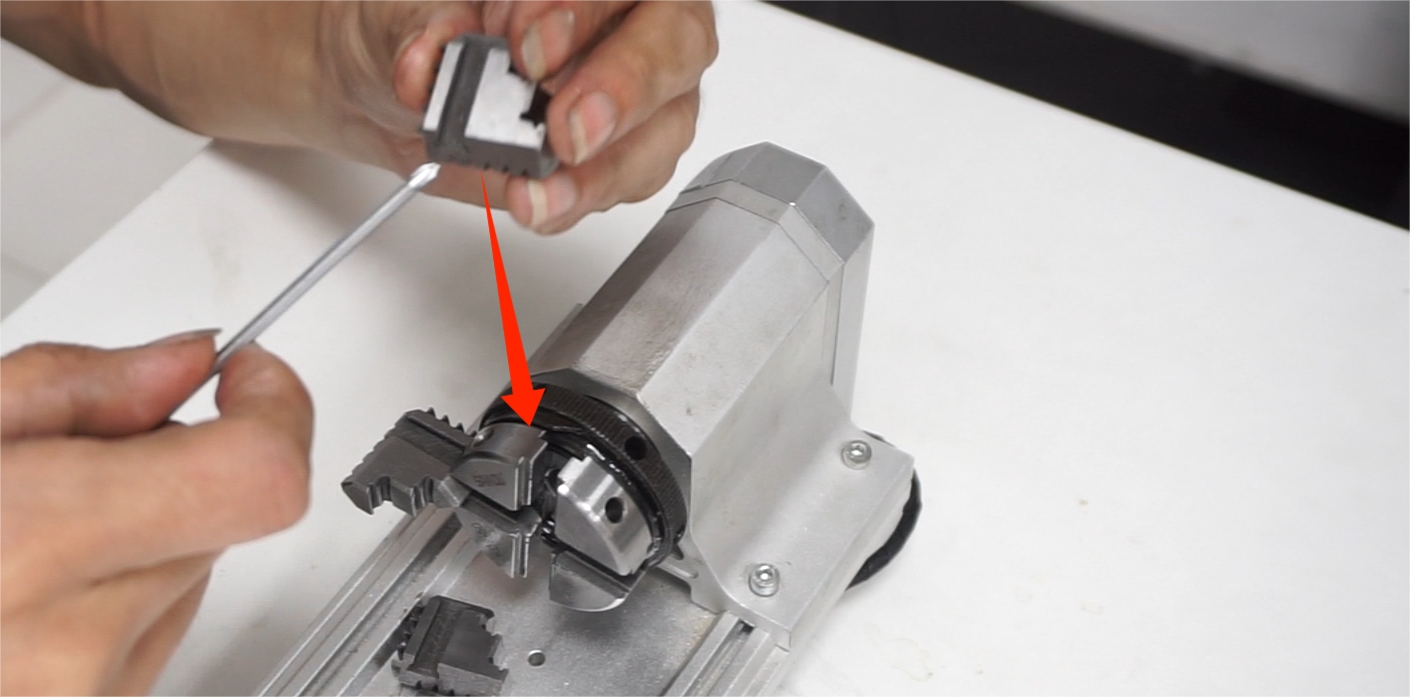
5. Please note that at this point, the jaws have limited contact with the slots, resulting in weaker sliding ability. Gently shake the jaws manually to align them inward before turning the rear nut again.
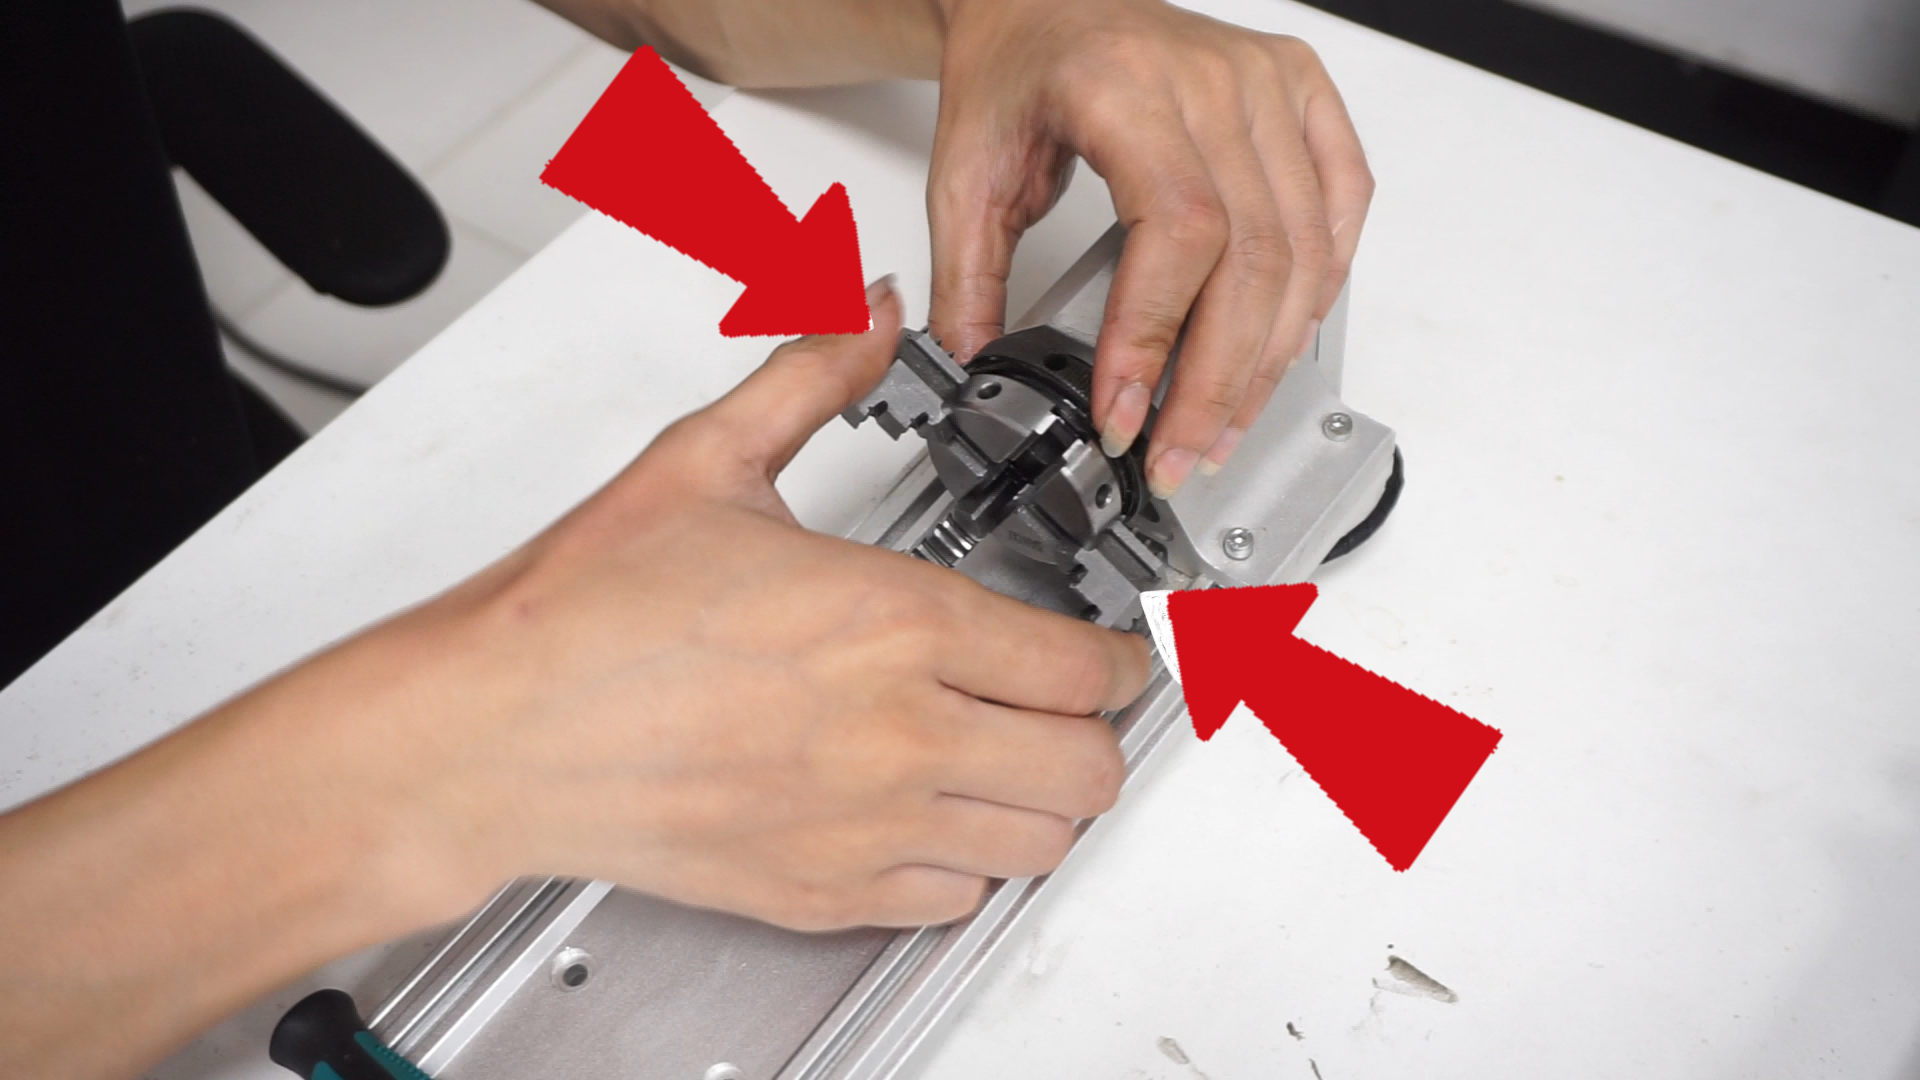
6. Repeat the same process for the front section, sequentially installing No.2 and No.1 jaws, until the rear nut can be fully tightened.
