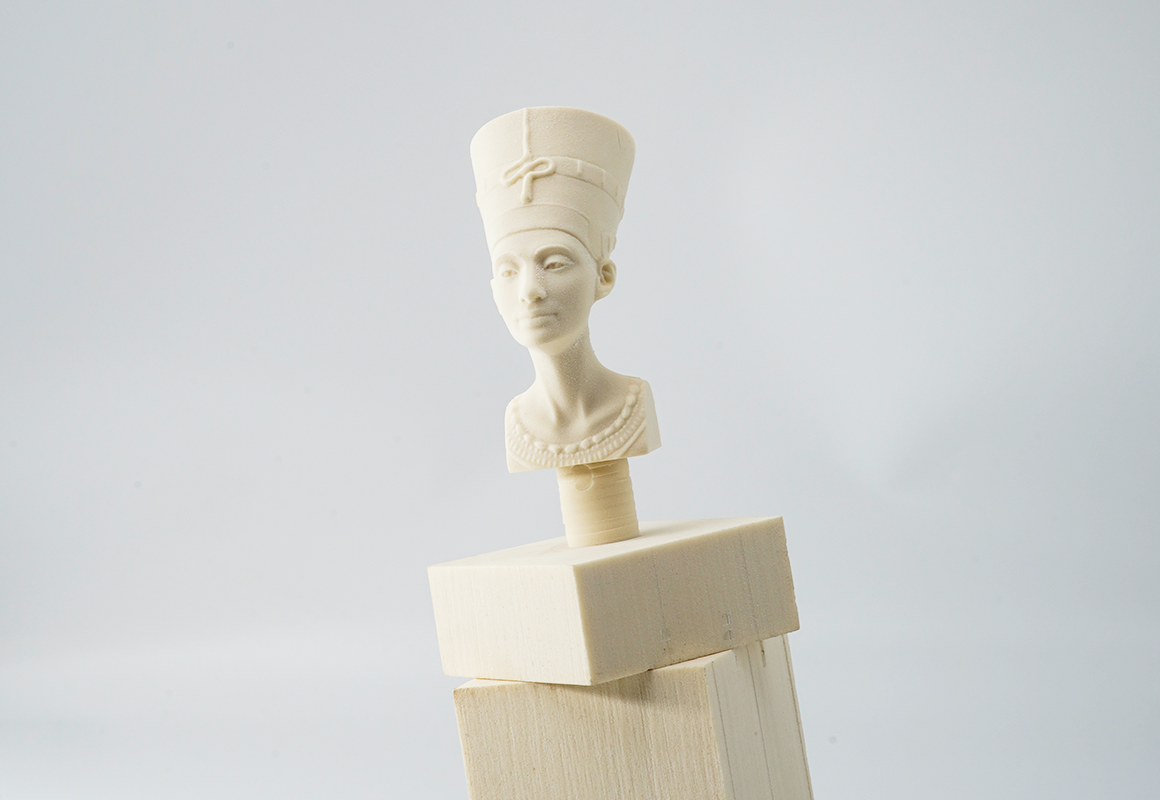
This case shows you how to use Carvera’s rotary axis to machine a 3D object. We don’t use dust collection for rotary axis machining, so we split the roughing and finishing process into two jobs. You should clean the dust between the two steps. The CAM software used in this case is DeskProto.
The Nefertiti sample model in this guide was from Thomas Roussel - Thingiverse: @lecaramel.
Note:Some of the parameters for 4-axis and 3-axis machining are different: The 3-axis can be positioned using anchor point 1 or anchor point 2. The Y-axis position of the 4-axis is fixed, and the X-axis is positioned releative to the right edge of the headstock.
Note:We don’t use auto-leveling for 4-axis machining, and the auto z probe position is fixed.
Note:We don’t use dust collection for 4-axis machining. Please remove the dust shoe, lift up the dust shoe rail and fix the dust collection tube to the temporary point, take off the dust bin to prevent collision (Read Carvera instruction manual for more imformations)
¶ Tutorial Video
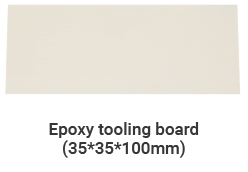
¶ Material preparation
¶ Machining process
1. Plug in the cable and Install the rotary axis. (Please read the Carvera instruction manual for using the rotary axis)If your Carvera is on, please power off the machine first before installation.
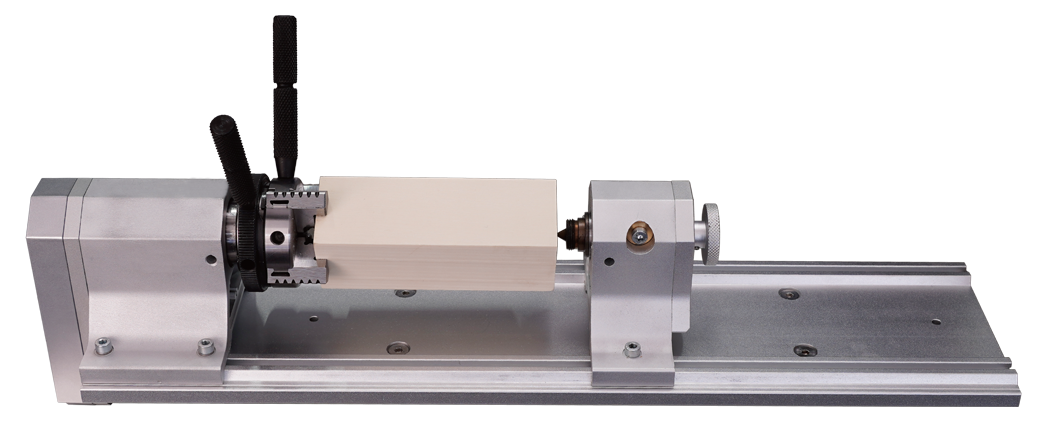
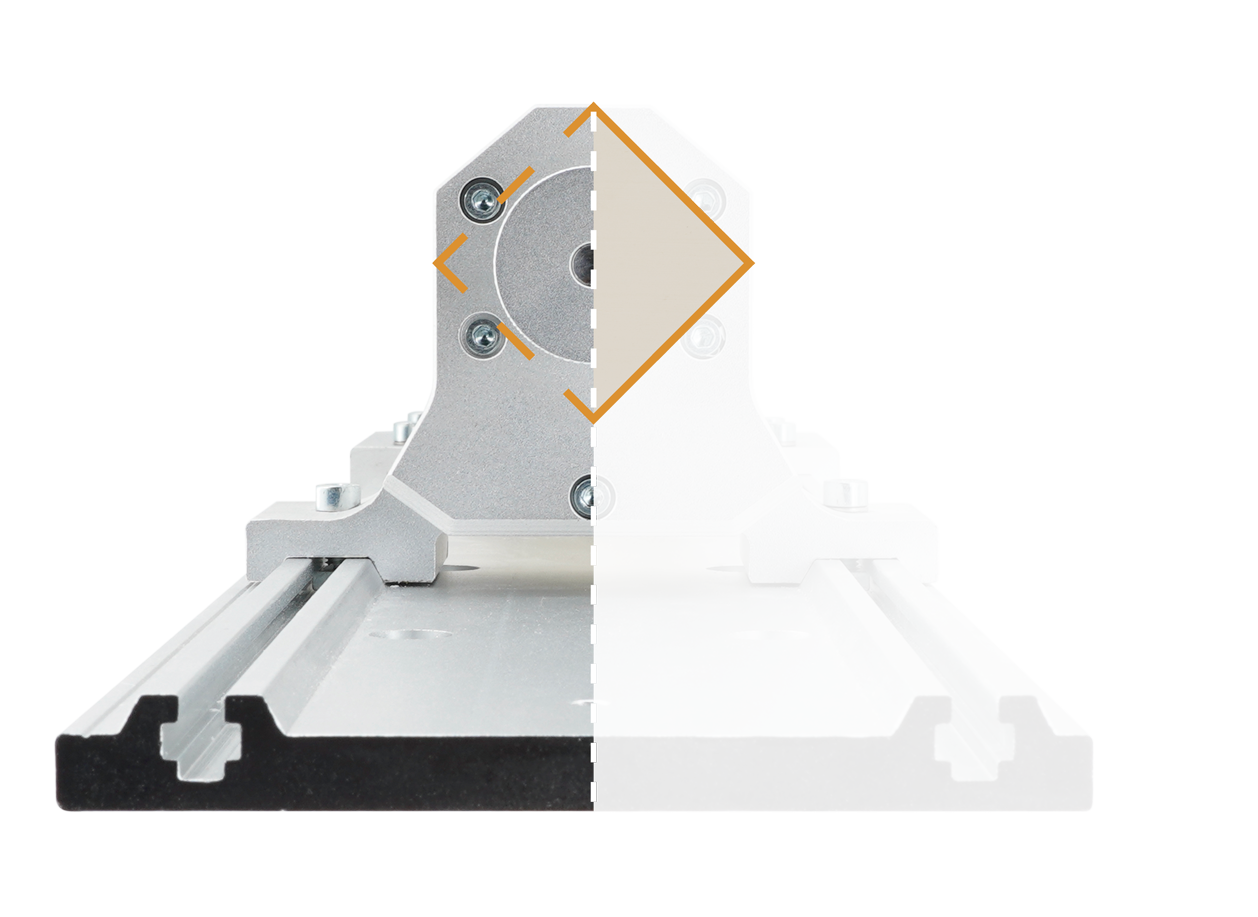
2. Fix the Epoxy Tooling Board to the rotary axis, let the corner direction up and down.
3. Check if the milling bits are on the right position . No.1-3.175*25mm single flute spiral bit, No.2-30°0.2mmV-bit.
4. Turn on the power and wait for the automatic homing to complete.
5. Open the control software and connect to Carvera (please read Carvera instruction manual for detailed steps)
6. Open Root->Examples->Rotation in the remote directory.
¶ Roughing process
1. Select “NefertitiRough.nc” roughing file.
2. Open the task configuration and operation dialog box.
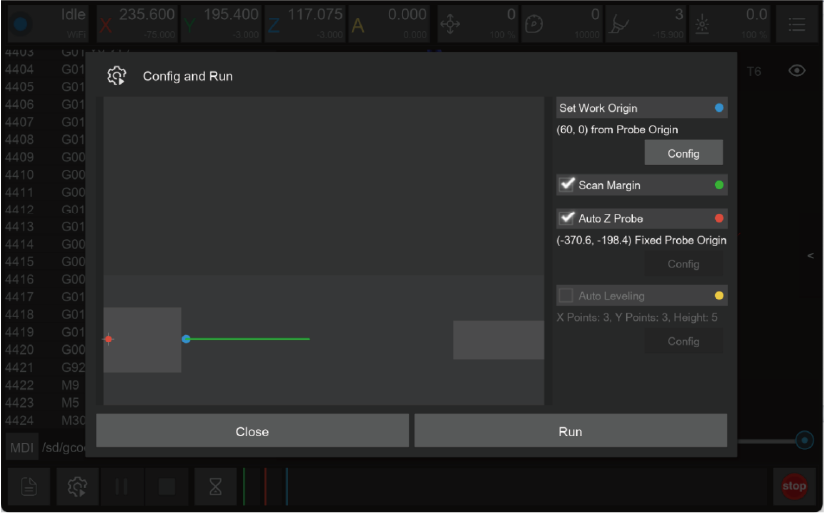
3. Set working coordinate to X offset 50 (relative to the right edge of the 4th axis headstock), and Y offset 0.
4. Check the “Scan Margin” option.
5. Check the “Auto Z Probe” option(4-axis z probe at fixed position, no configuration required).
6. Check the configuration and click run, then wait for the completion.
7. This step can produce lots of dust, please use a vacuum to clean before next step.
¶ Finishing process
1. Select “NefertitiFinish.nc” finishing file.
2. Open the task configuration and operation dialog box (the automatic detection has been completed in step 1, no need to redo it here).
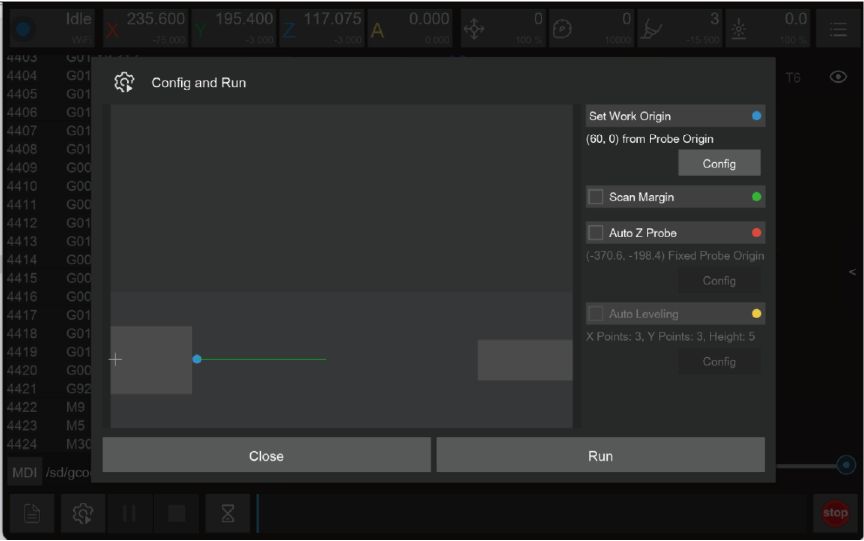
3. Uncheck the “Scan Margin” option.
4. Uncheck the “Auto Z Probe” option.
5. Check the configuration and click run, then wait for the completion.
6. Use a vacuum to clean up the dust and take out the epoxy tooling board.
7. Use the handsaw in the accessory kit to remove the remaining epoxy on both ends.