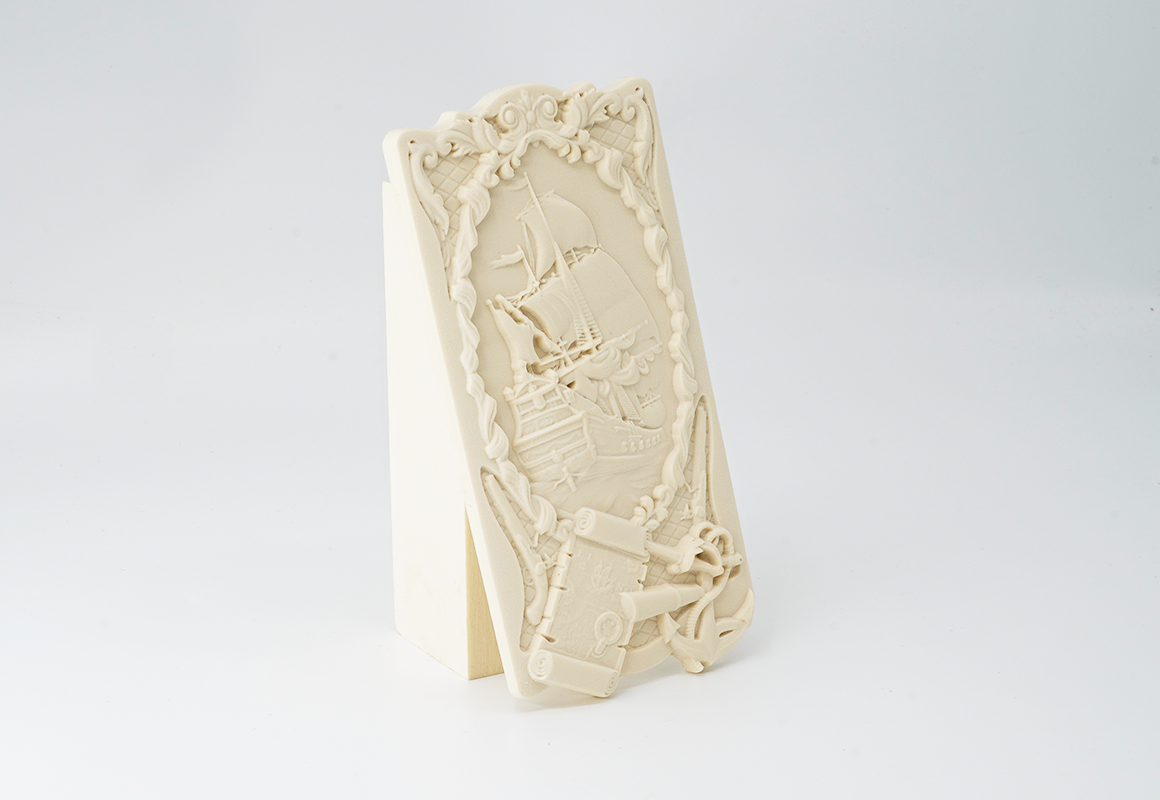
This case shows you how to use Carvera’s tool changing function to automatically complete roughing and finishing steps of machining a relief, providing you with an easy way to make exquisite craftwork. The CAM software is ArtCAM.
¶ Tutorial Video
¶ Material preparation
.png)
¶ Machining process
1. Cut the 2mm MDF board with a size of 100*150mm as the wasteboard. (You can reuse the PCB one)

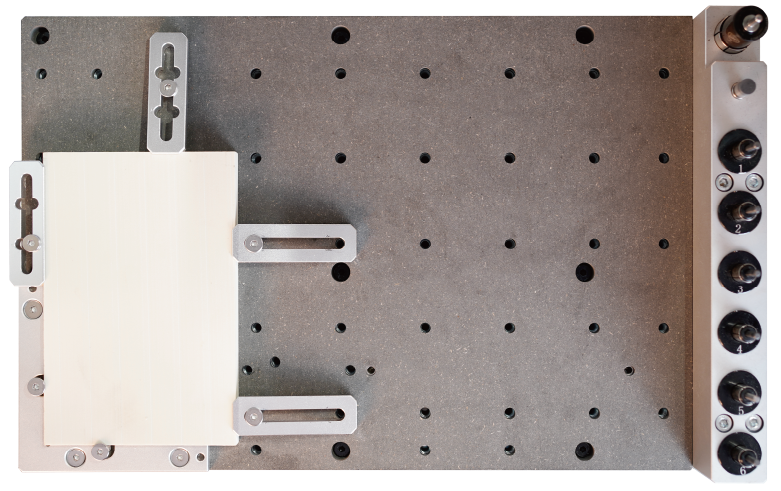
2. Fix the Epoxy Tooling Board and the wasteboard to the table as shown in the figure. Align it to the L-bracket at anchor point 1.
3. Check if the milling bits are on the right position. No.1-3.175*25mm single flute spiral bit, No.2-30°0.2mmV-bit.
4. Turn on the power and wait for the automatic homing to complete.
5. Open the control software and connect to Carvera (please read Carvera instruction manual for detailed steps)
6. Open Root->Examples->Relief in the remote directory. Select the “PirateShip.nc” file.
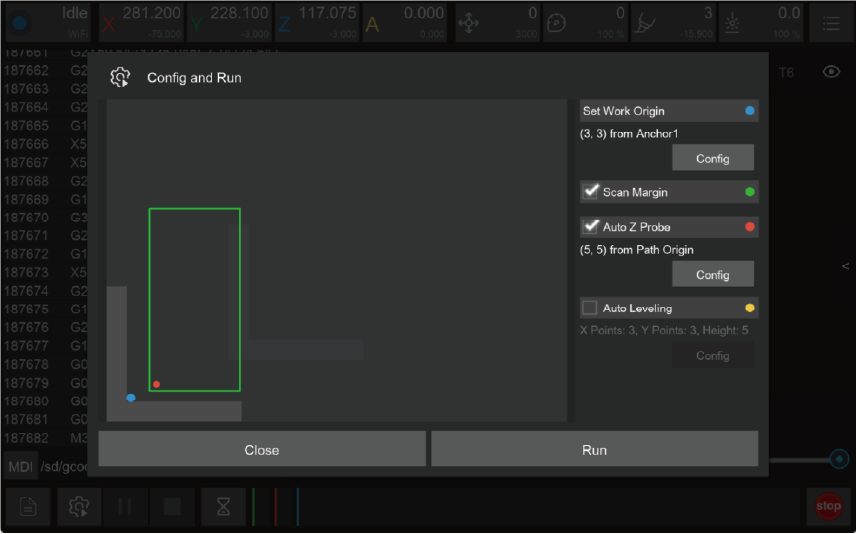
7. Open the task configuration and operation dialog box.

8. Set working coordinate to X offset 3, and Y offset 3 relative to anchor 1.
9. Check the “Scan Margin” option.
10. Check the “Auto Z Probe” option, set the probe point to X offset 5, Y offset 5 relative to Path Origin.
11. Uncheck “Auto Leveling”.( Because the material’s surface will be milled to a certain height, no need for automatic levelling detection)
12. Check the configuration and click run, then wait for the completion.
13. Move the machine to the clearance position after the operation is completed to reduce the interference to subsequent operations.
14. Remove the epoxy tooling board and use the handsaw in the accessory kit to take out your work.