For additional information and support as you learn how to use Makera CAM for your CNC projects, check out the official Makera CAM user guide. And are you new to CNC's? If so, we recommend you check out our Getting Started with CNC Machines tutorials before diving into your first project.
¶ Learn how to use Makera CAM
This page provides a collection of How-To videos and guides to support users as they learn to use Makera CAM software to prepare designs for manufacturing with their CNC machines. For each step by step guide, a short video has also been created to provide further support and clarity to our users. Greater detail and topics can be found in the Makera CAM User Guide, and additional videos are also available on the official Makera YouTube Channel. You can also find project tutorials and sample files for Makera CAM on the Knowledge Sharing page of our wiki.
¶ Makera CAM OverviewIn this video, we overview the most recent release of the public beta version of Makera CAM as we learn how to use the different tools and features within the program. We overview how to import different types of design files, as well as how to adjust our tools and materials to create tool paths for manufacturing. |
|
¶ How to Navigate and SelectIn this video, we cover the basic navigation tools to select objects, pan, rotate, and zoom within the design window. We also cover view options to customize the workspace, as well as look at how to select different types of graphic objects within our designs. |
|
¶ The Tool LibraryIn this video, we look at how to use and adjust the tool library. The tool library should correspond to the tools you have available for machining, as well as the stock you plan to use. In the tool library, we can edit and create tools, groups, and adjust default speed and feed parameters for our projects. |
|
¶ Materials and StockIn this video, we look at how the materials listed in the materials library can be edited and created, and how these materials impact the use of the stock parameters and default speeds and feeds for our tools when making tool paths. |
|
¶ Work Coordinate SystemsIn this video, we look at how to edit and create work coordinate systems for our multi-sided projects. Work Coordinate Systems, or WCS, allows you to choose the origin points for your stock, as well as setup multiple origins for separate jobs in a single project. |
|
¶ Working with LayersIn this video, we look at what layers are, and how they can be created and edited in our projects. Layers allow for us to easily separate parts of our design, as well as work to support importing different types of design files. |
|
¶ Working with PathsIn this video, we look at how paths can be edited and exported in our projects. As shown in other videos, tool paths are an important part of CAM software as they are what guide our CNC machines to manufacture our projects. This video shows how to edit paths, as well as export them for manufacturing as a GCode file. |
|
¶ Working with 2D DesignsIn this video, we look at how 2D files (formerly referred to as Vector Graphics), such as SVGs and DXFs, can be imported into Makera CAM. 2D design files are the ideal file type for creating 2D tool paths for subtractive manufacturing. This video shows how 2D files can be edited and used for our projects. |
|
¶ Working with 3D DesignsIn this video, we look at how 3D files, such as STEPs and STLs, can be imported into Makera CAM. 3D design files are the ideal file type for creating 3D tool paths for subtractive manufacturing in both 3-axis and 4-axis configurations. This video shows how 3D files can be edited and used for our projects. |
|
¶ Working with Image FilesIn this video, we look at how raster image files, such as JPGs and PNGs, can be imported into Makera CAM. Raster image files are ideal for creating engravings using laser modules, but Makera CAM also allows for us to trace images to convert them into vector designs for 2D tool path generation. |
|
¶ Transform ToolsIn this video, we look at the different tools available for adjusting objects and design files in Makera CAM. This includes transforming shapes to move, rotate, or scale them, as well as mirroring designs and manipulating them in our project files. |
|
¶ Center to CenterIn this video, we look at how to use the Center to Center tool for adjusting objects in our designs. Center to Center allows for us to easily and quickly align the center points of two objects in Makera CAM. This is a more accurate approach to transforming the shapes manually. |
|
¶ Creating ShapesIn this video, we look at the basic tools for creating simple shapes in our project files. While Makera CAM is not a CAD program, you can create 2D rectangles and circles, as well as 3D cubes, cylinders, or cones in your projects to allow for designing to be quick and easy when manufacturing your projects. |
|
¶ 2D Drilling Tool PathsIn this video, we look at how to create 2D drilling operations (formerly Vector Drilling) using our 2D design files. Drilling operations can be used to machine holes in our projects, and there are a few different strategies that can be used when preparing these tool paths as shown in this video. |
|
¶ 2D Thread Milling Tool PathsIn this video, we look at how to create 2D thread milling operations using our 2D design files. When combined with Drilling operations, Thread Milling tool paths can be used to cut threads in a hole or around a cylinder in our projects, and there are a few different strategies that can be used when preparing these tool paths as shown in this video. |
|
¶ 2D Pocket Tool PathsIn this video, we look at how to create 2D pocket operations (formerly Vector Pocket) using our 2D design files. Pocket operations can be used to machine pockets or facing operations with our projects, and there are a few different strategies that can be used when preparing these tool paths as shown in this video. |
|
¶ 2D Contour Tool PathsIn this video, we look at how to create 2D contour operations (formerly Vector Contour) using our 2D design files. Contour operations can be used to cut our designs or create engravings in our projects, and there are a few different strategies that can be used when preparing these tool paths as shown in this video. |
|
¶ 2D Chamfer Tool PathsIn this video, we look at how to create 2D chamfer operations (formerly part of Vector Contour) using our 2D design files. Chamfer operations can be used to create a specific kind of contour tool path to cut a chamfered edge in our designs. There are a few different strategies that can be used when preparing these tool paths as shown in this video. |
|
¶ 3D Drilling Tool PathsIn this video, we look at how to create 3D drilling operations using our 3D design files in STEP formats. Drilling operations can be used to machine holes in our projects, and there are a few different strategies that can be used when preparing these tool paths as shown in this video. |
|
¶ 3D Thread Milling Tool PathsIn this video, we look at how to create 3D thread milling operations using our 3D design files in STEP formats. When combined with Drilling operations, Thread Milling tool paths can be used to cut threads in a hole or around a cylinder in our projects, and there are a few different strategies that can be used when preparing these tool paths as shown in this video. |
|
¶ 3D Pocket Tool PathsIn this video, we look at how to create 3D pocket operations using our 3D design files in STEP formats. Pocket operations can be used to machine pockets or facing operations with our projects, and there are a few different strategies that can be used when preparing these tool paths as shown in this video. |
|
¶ 3D Contour Tool PathsIn this video, we look at how to create 3D contour operations using our 3D design files in STEP and STL formats. Contour operations can be used to cut our designs or create engravings in our projects, and there are a few different strategies that can be used when preparing these tool paths as shown in this video. |
|
¶ 3D Chamfer Tool PathsIn this video, we look at how to create 3D chamfer operations using our 3D design files. Chamfer operations can be used to create a specific kind of contour tool path to cut a chamfered edge in our designs. There are a few different strategies that can be used when preparing these tool paths as shown in this video. |
|
¶ 3D Relief Tool PathsIn this video, we look at how to create 3D relief operations using our 3D design files in STL formats for 3-Axis machining. Relief tool paths follow the unique intricacies in your design files to machine 3D designs with combined processes. There are a few different strategies that can be used when preparing these tool paths as shown in this video. |
|
¶ 4th-Axis Relief Tool PathsIn this video, we look at how to create 3D relief operations using our 3D design files in STL formats for 4th-axis machining. Makera CAM allows for you to prepare relief tool paths that follow the unique intricacies in your design files to machine 3D designs with combined processes on the 4th Axis rotary model. There are a few different strategies that can be used when preparing these tool paths as shown in this video. |
|
¶ Laser Image Tool PathsIn this video, we look at how to create laser image operations using raster image files. Laser image operations can be used to engrave photographs on a range of materials using the laser engraving module, as well as create a variety of projects as shown in this video. |
|
¶ Laser Vector Tool PathsIn this video, we look at how to create laser vector operations using vector design files. Laser vector operations can be used to cut or engrave a range of materials using the engraving module, as well as create a wide range of unique projects as shown in this video. |
|
¶ Working with PCBsIn this video, we overview how PCB files can be imported and prepared in Makera CAM. We look at key steps to take when exporting a PCB file to maximize compatible with Makera CAM, as well as common settings and techniques that can be implemented in your PCB projects. |
|
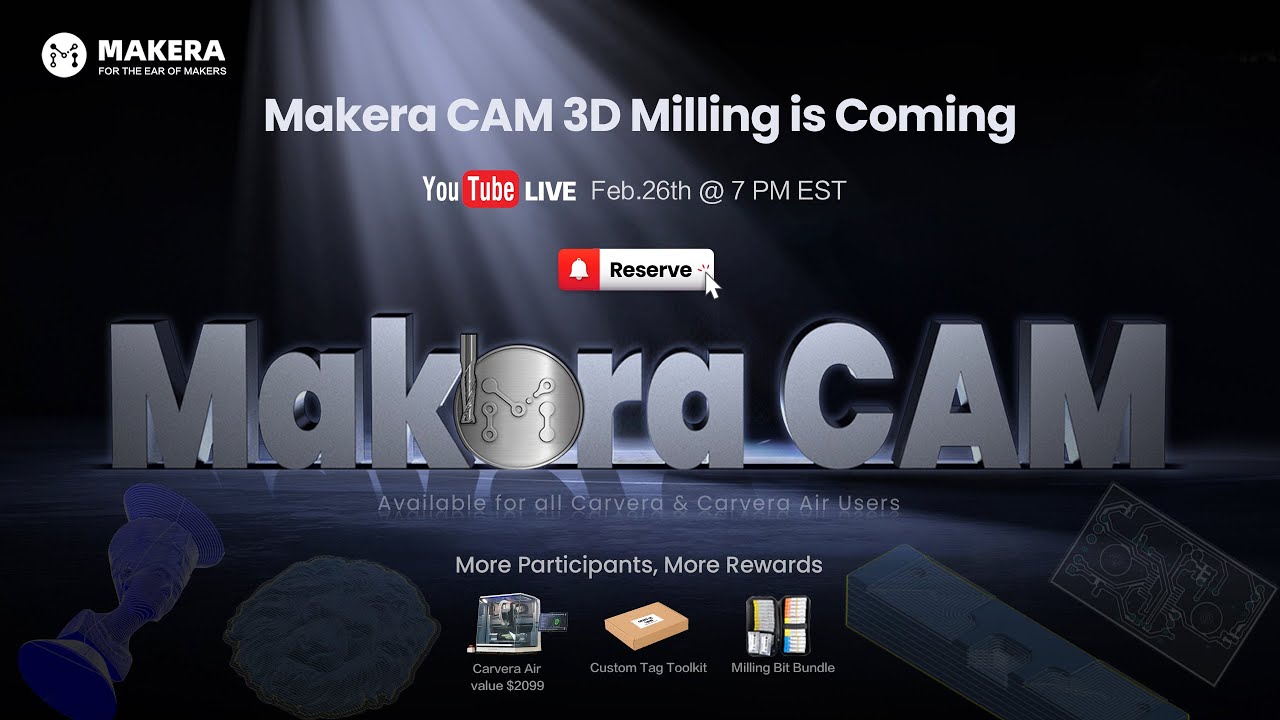 |
¶ Makera CAM 3D Milling Release LivestreamIn this live stream, we introduce new features and tools included in a recent public beta release of Makera CAM. This includes general changes and upgrades, as well as the ability to import and work with 3D design files for both 3-axis and 4-axis machining. Click here to view the recording of the live event from 2/26/25. |
¶ Getting Started with Makera CAMIn this video, we are guided through a simple project using Makera CAM and the Carvera Desktop CNC machine. Starting from an imported vector design file, we learn how to prepare our tool paths using different drill, pocket, and contour operations to complete this example project. |